Atlas: Headless WP Add-on
The “Atlas: Headless WP” add-on helps you quickly get working on a Headless WordPress site using WP Engine’s Atlas framework. That’s a lot of jargon, so let’s get you oriented in terms of what all that means.
Table of Contents:
Terms
Atlas:
Atlas is WP Engine’s framework for creating and hosting Headless WordPress projects.
Using this framework, you can get the benefits of managing your content with WordPress while having maximum flexibility in how and where that content is consumed.
Faust.js:
If you’re new to the web development term “headless,” I recommend taking a look at this blog post.
But why do we even need a framework?
WordPress has been around a long time and doesn’t offer a seamless headless experience out of the box.
That being said, because WordPress is so extensible, there are a number of things that can be done to have it fit into a more modern workflow. This includes things like installing the WPGraphQL WordPress plugin as well as installing and configuring WP Engine’s open-source Faust.js framework.
A lot of this information about headless WordPress projects is changing quickly, and the best place to get up to speed and stay current on those changes is to follow WP Engine’s developer resources.
Local Atlas Add-on:
The Local Atlas Add-on helps hide away the complexity of creating headless sites on your local machine.
Using the add-on, you can quickly create a new headless sandbox to begin experimenting with the Atlas framework without all the tedious parts of setting up your environment:
Installation
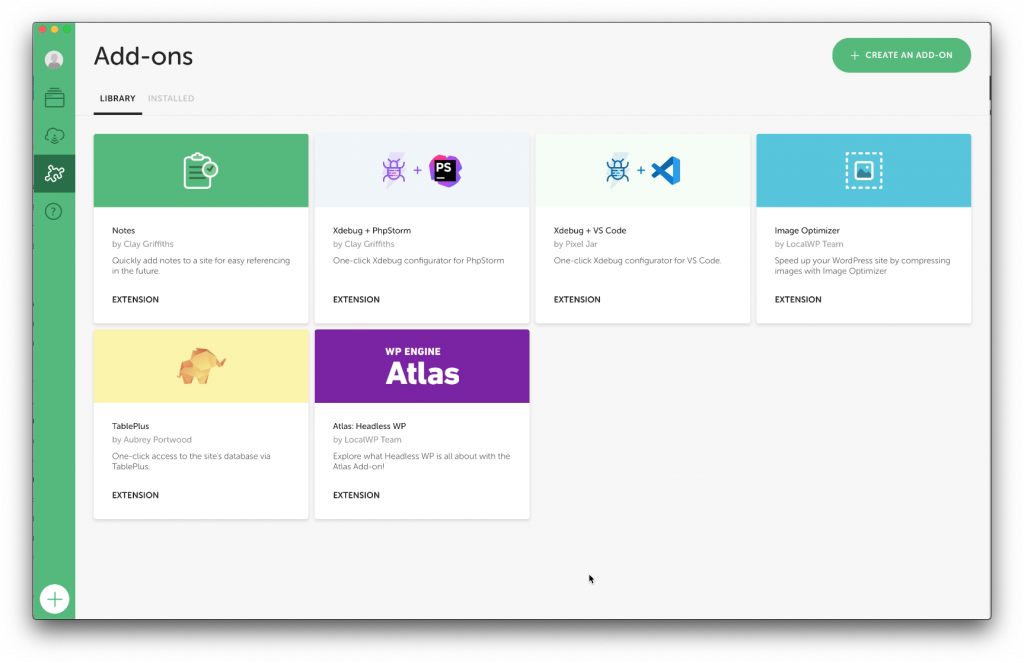
Installing the Local Atlas Add-on is easy, and can be done from the “Add-on Library” within Local.
note
There’s only a couple of things you need to get up and running with the Atlas Add-on.
- Install the latest version of Local (at least 5.10.0.)
- Be connected to the internet when creating a site. Local needs to download dependencies when creating a new headless site, but after everything is set up, you can be as mobile as you want!
Create a Headless Site
The Local Atlas Add-on makes the setup of a Headless WordPress site easy. Simply click the “Add Local Site” button in the lower-left corner of Local. Select a “Custom Environment” and check the setting to “Enable Atlas Add-on on this site.”

Develop Atlas Sites in Local
Access the site in the browser
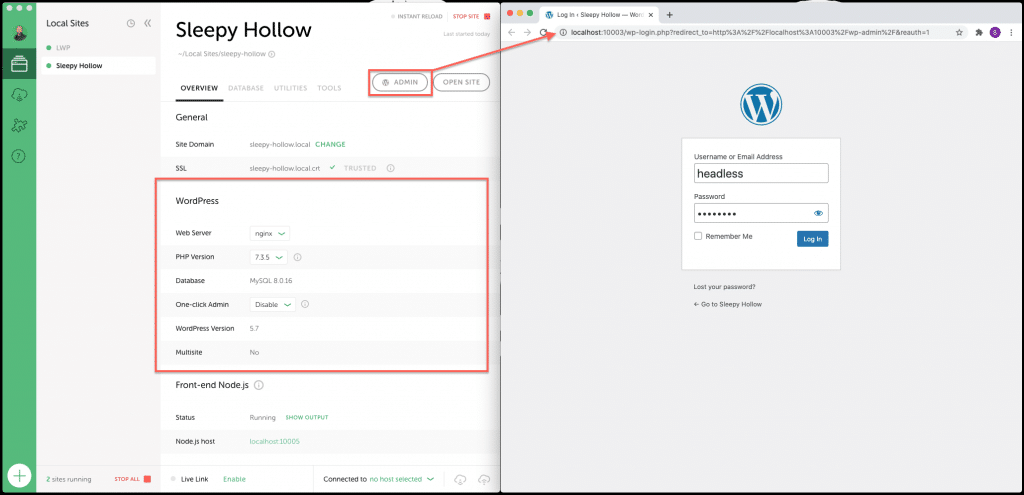
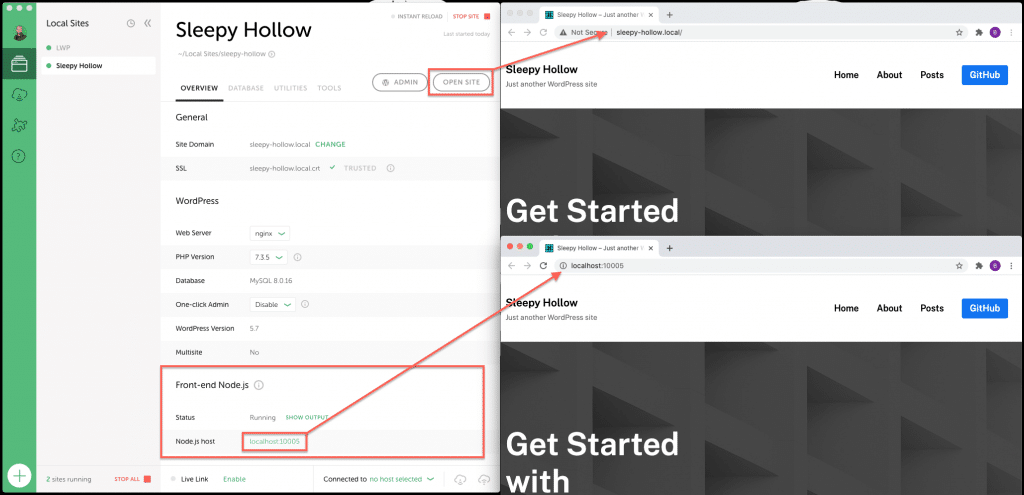
Once Local has finished creating your Atlas site, you’ll want to dive in and get developing. You can access the site with your browser by viewing the site overview page in Local. From there, you can access both the WordPress backend as well as the Node.js front-end by clicking one of the various links.
note
Pay special attention to the url that is used in the browser’s address bar.
The domain that you selected during site creation will be used when clicking the “Open Site” button and is serving the same content that can be found when clicking the “Node.js Host” link.
Why have two ways of accessing the frontend? The open site button is passing through Local’s router, and allows for additional functionality like Live Links, whereas the direct connection to the localhost port is one less piece of networking to be considering.
For the backend of the site, the “Admin” button links directly to the port serving the WordPress.
Access the site files
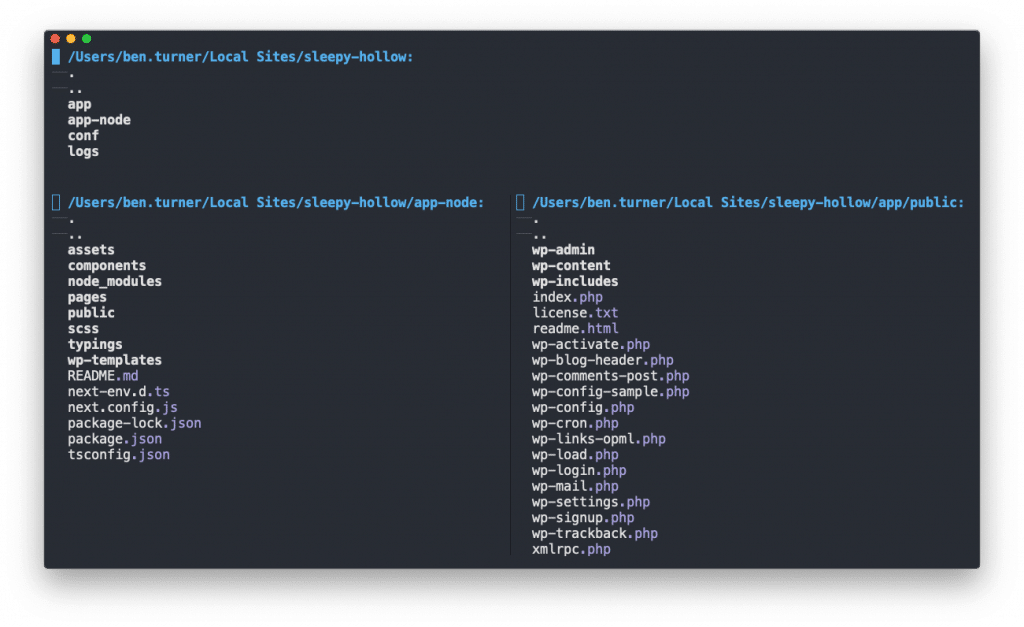
When you’re ready to start editing files and customizing the site, navigate to the main site’s folder and notice the app and app-node folders.
app– Contains the files of a typical WordPress site. Any changes made here will be reflected in the WordPress backend.app-node– The Javascript frontend which the Node.js process is watching and compiling.
Compile Changes
If you’re used to working with other, modern Javascript projects, you’ll be familiar with the need to compile your source code into something more compatible for production.
By using the Atlas add-on, watching and compiling the frontend Javascript is already done for you. Just open the file, make your changes, and watch the browser update!
If you need to see the output of that process, click the “Show Output” link under the “Frontend Node.js” section of the Site Overview page.
app-node folder are automatically compiled and refreshed in the browser when the file is saved.Limitations
The Local Atlas Add-on is still in Beta, which means we’re actively working on it. That also means that there are some things that won’t work flawlessly.
Live Links
Right now, a Live Link can only be created to the Node.js frontend. This means that there’s no way to create a Live Link to the WordPress backend.
Instant Reload
Because the Atlas Add-on is already watching, compiling and refreshing the browser with changes to the Node.js frontend, there’s no need to enable Instant Reload for an Atlas site. With the Atlas add-on enabled, you can still use Instant Reload for other, regular WordPress sites, but at this time, it’s best to leave Instant Reload disabled for any headless sites.
Link Checker
At this time, the Link Checker add-on isn’t able to scan for broken links on headless sites.
Local Connect
Local Connect does not support a full Atlas push/pull; the functionality is available specifically for the WordPress install and site files. It does not currently support pushing and pulling the front end to and from an Atlas site on WP Engine. You can learn more about Atlas and Headless WordPress here.
Resources and Getting Help
For more information on building Headless WordPress sites, see WP Engine’s Developer Resources.
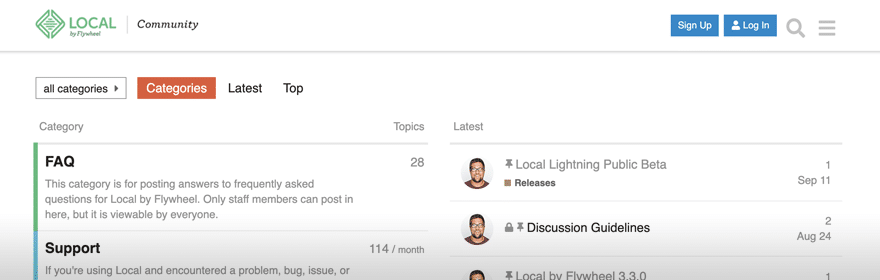
If you have questions or issues when using the Local Atlas Add-on, create a topic in the Atlas: Headless WP category of the community forums, or get in touch through the Github Repository.