SSL Certificate on macOS
In most cases, Local makes getting your offline development environment running HTTPS easy by providing a one-click solution for trusting a site’s SSL certificate.
Occasionally, if that “trust” process doesn’t work, you’ll need to manually let your Mac know that it can trust the Local site’s certificate. Newer macOS versions do not allow Local to trust an SSL certificate automatically. If you are experiencing this issue, follow the steps below.
Table of Contents:
Step 1: Create the certificate with Local
The first, click the “Trust” button next to the “SSL” section of the “Site Overview” page.
Clicking the button directs Local to generate a certificate with the correct information about this site and attempt to register the certificate with macOS.
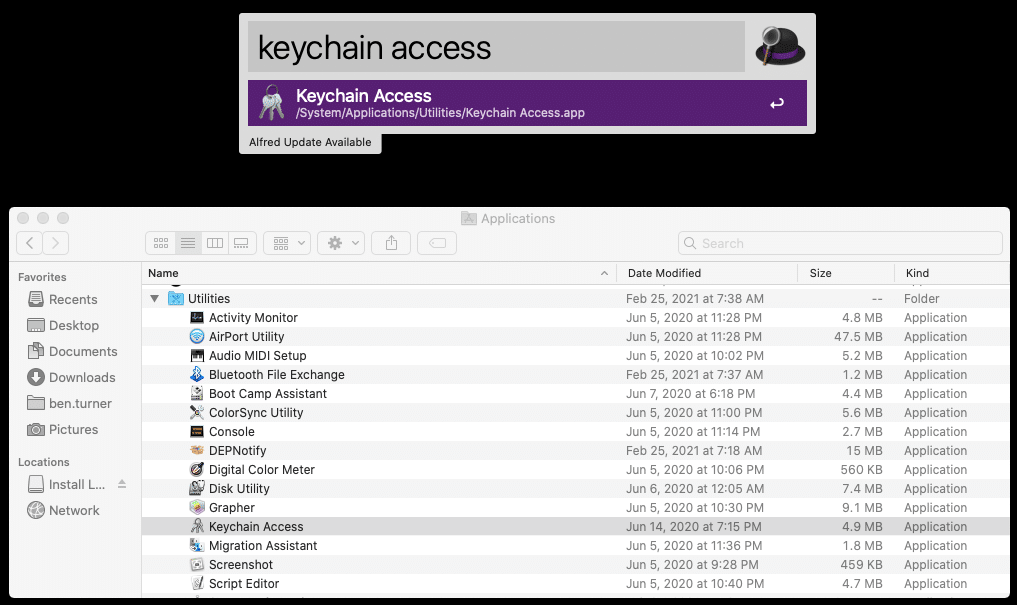
Step 2: Keychain Access
In macOS, most secrets are stored in “Keychains.” Keychains include things like passwords, ssh keys, and, importantly for us, SSL certificates.
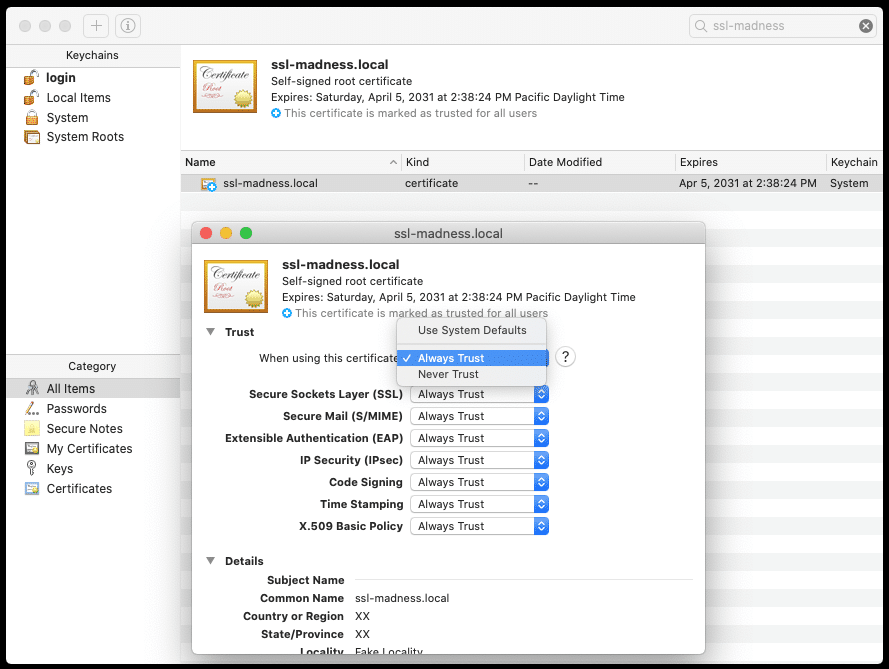
Using the “Keychain Access” application with macOS, we can search for the SSL certificate that Local created. Once found, you can manage all sorts of settings for that specific certificate.
In our case, we want to update the “When using this certificate” setting from “Use System Default” to “Always Trust.” “Always Trust” means that for this certificate and site, macOS will always trust the connection.
Step 3: Verify the certificate is trusted
Now that the certificate is set to “Always Trust,” how can you verify everything is working?
Open the site in a browser again and ensure a ‘lock’ in the address bar. If the ‘lock’ is missing, the first thing to check is if the address bar has https:// at the beginning of the domain.
Step 4: Update the URLs within the Database
Once you’ve got the Local site’s SSL certificate trusted with macOS, and have verified that the site can be successfully loaded over HTTPS, all that’s left to do is to update the URLs within the Local site’s database!
You can use a plugin like Better Search Replace to search for the regular HTTP version of the URL and replace it with the HTTPS version of the URL.
Another option is to use WP-CLI which comes bundled with Local. To do this, all you have to do is:
- Right-click on the site in Local and select “Open Site Shell”
- Within the terminal window that opens, use the
wp search-replacecommand to updatehttp://tohttps://. Using the above site as an example, the command would look something like:
wp search-replace 'http://ssl-madness.local' 'https://ssl-madness.local'
SSL ERR_CERT_INVALID on Local v6.4.1+
Local v6.4.1 rolled out a fix for the untrusted SSL issues that users have experienced. The fix works well with newly created sites on v6.4.1, however, sites created on previous versions may still experience issues. This could result in an ERR_CERT_INVALID error when opening Chrome. If this happens to you, here are some steps for resolving that issue:
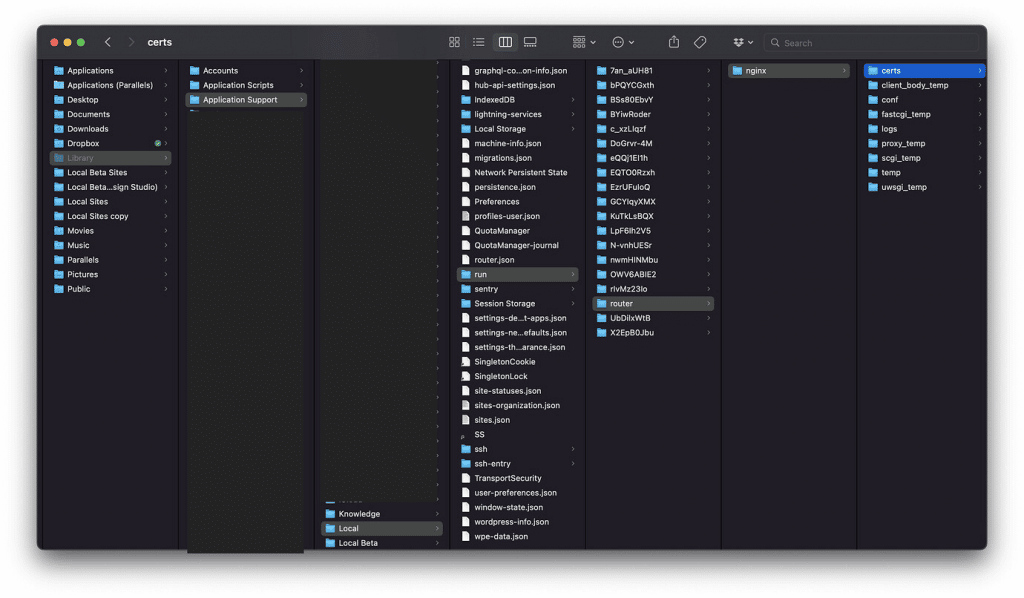
- Navigate to your Library/Application Support folder in your user directory.
- Open Finder window
- Click Go in the menu bar at the top of your screen.
- Select Go to Folder or use cmd+shift+g.
- Type ~/Library and hit enter.
- Local stores certificates here: ~/Library/Application\ Support/Local/run/router/nginx/certs
- If your site is experiencing the issue, you can delete the certificate from this folder and then regenerate (“Trust”) the certificate from the Local UI.
- If it is happening to more than one site or this is tedious, you can delete the entire certs folder and Local will handle recreating the folder again.