Local Cloud Backups
Starting in v10.0, Cloud Backups are built directly into the core Local application, offering a faster, more reliable way to protect your work and move between machines. This makes it easy to connect to your Cloud Provider (Google Drive or Dropbox) and quickly backup any Local site to the cloud.
note
If you’re looking for instructions on our Legacy Cloud Backups add-on, those can still be found here.
Table of Contents:
Requirements
To use Local Cloud Backups, you need:
- Local v10.0.0 or newer
- A cloud storage provider (Google Drive or Dropbox)
note
A Local account is no longer required to manage the connection. You can simply connect to your provider directly within the app settings and go!
Using Local Cloud Backups
Connect a site to a provider
Connect your preferred cloud storage provider directly within the Local application settings with the steps below.
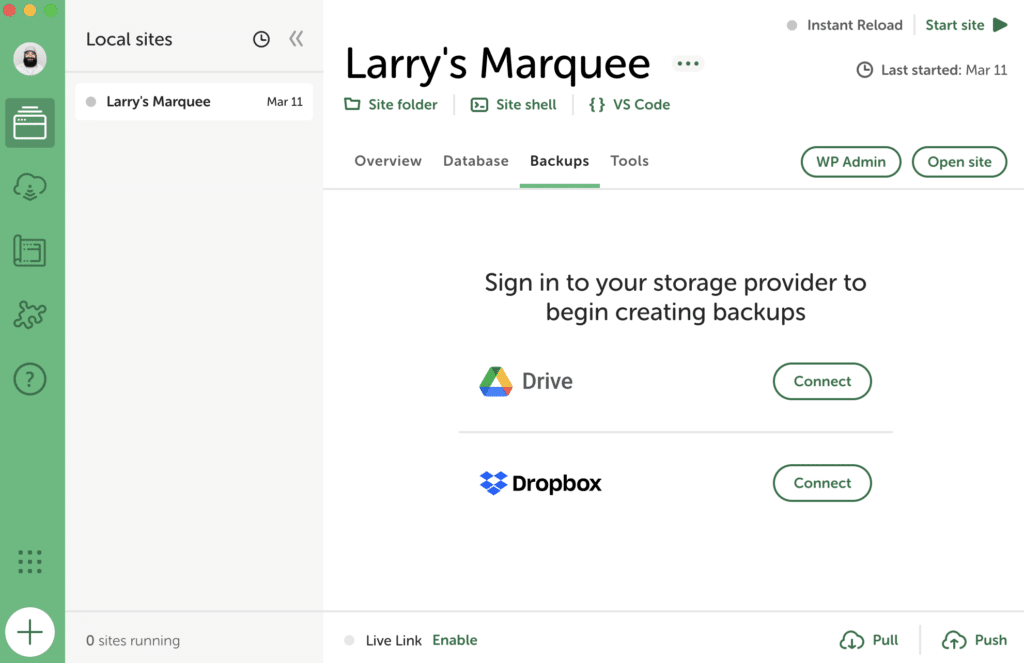
- In Local, go to Backups.
- Click Connect for Google Drive or Dropbox and follow the instructions to configure the connection.
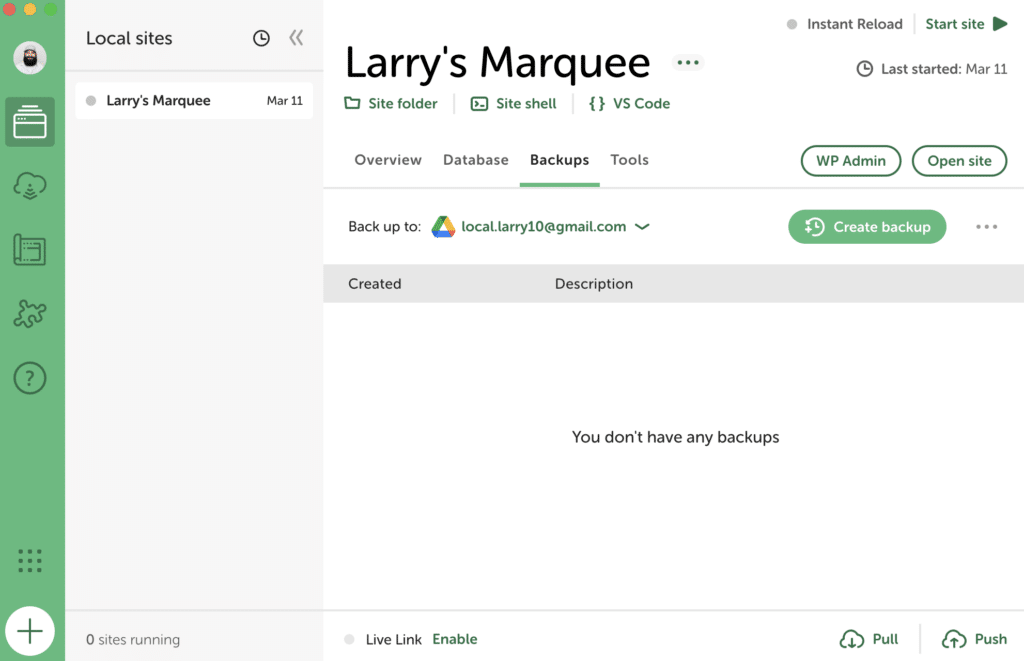
Back up a Site
Once connected, you can create and restore backups for your sites!
- Navigate to the site you wish to back up.
- Go to the Backups tab.
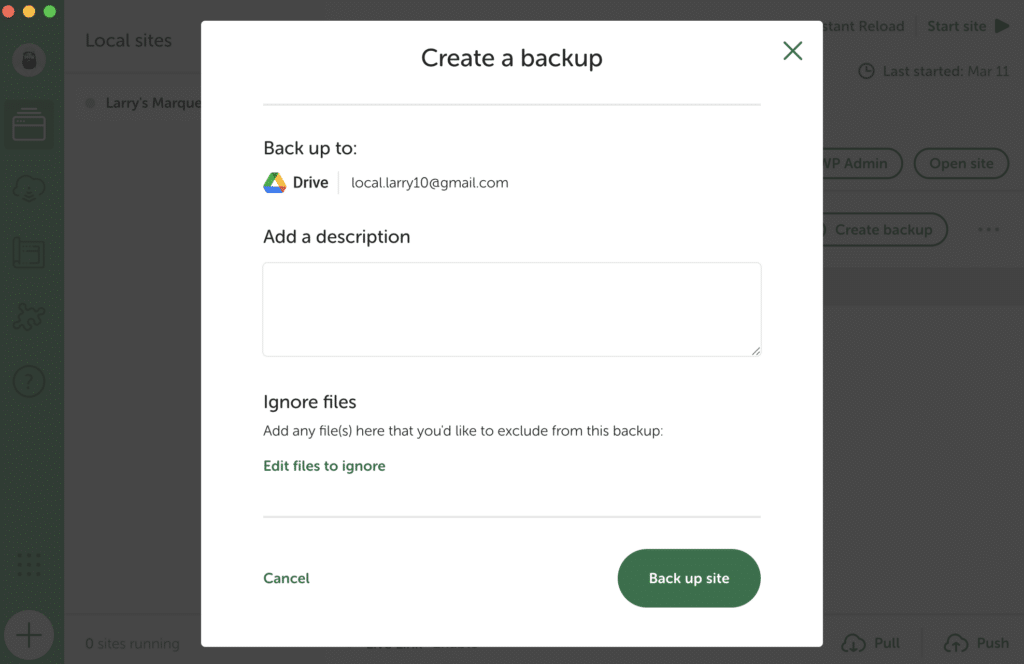
- Click the Create backup button.
Create a Site from a Backup
Local Cloud Backups lets you create a site from a previously made backup. Simply click the three dots next to the backup you’d like to use, then select Create site from backup. This can also be done in the Managing All Backups area (see here).
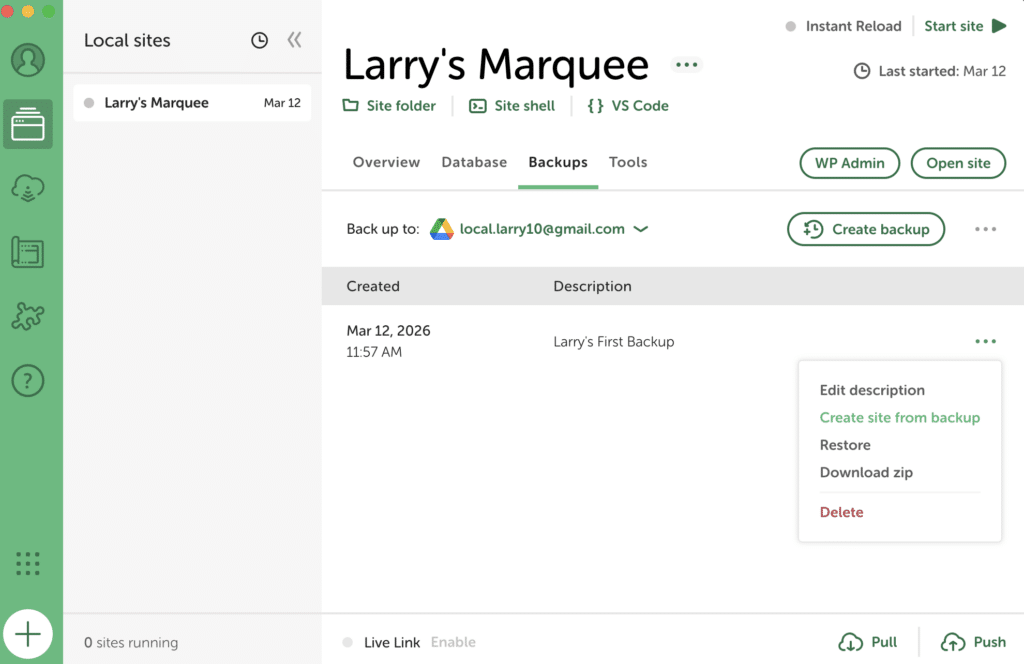
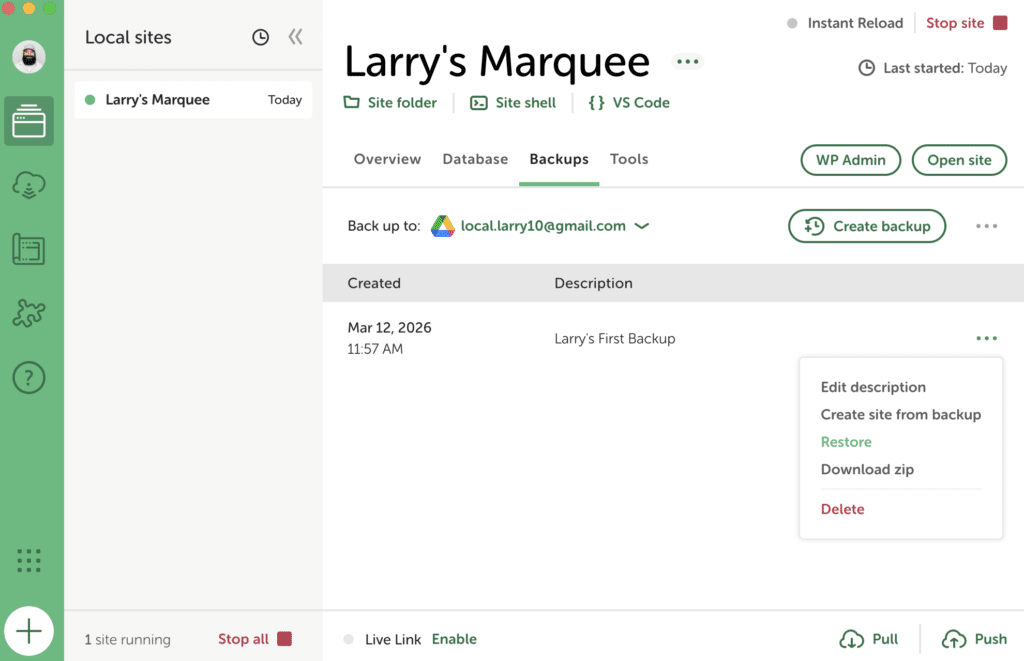
Restore a Site from a Backup
You can restore any backup by clicking on the three dots and selecting Restore.
Restoring a backup will overwrite the current site and keep it connected to the backups in your cloud provider.
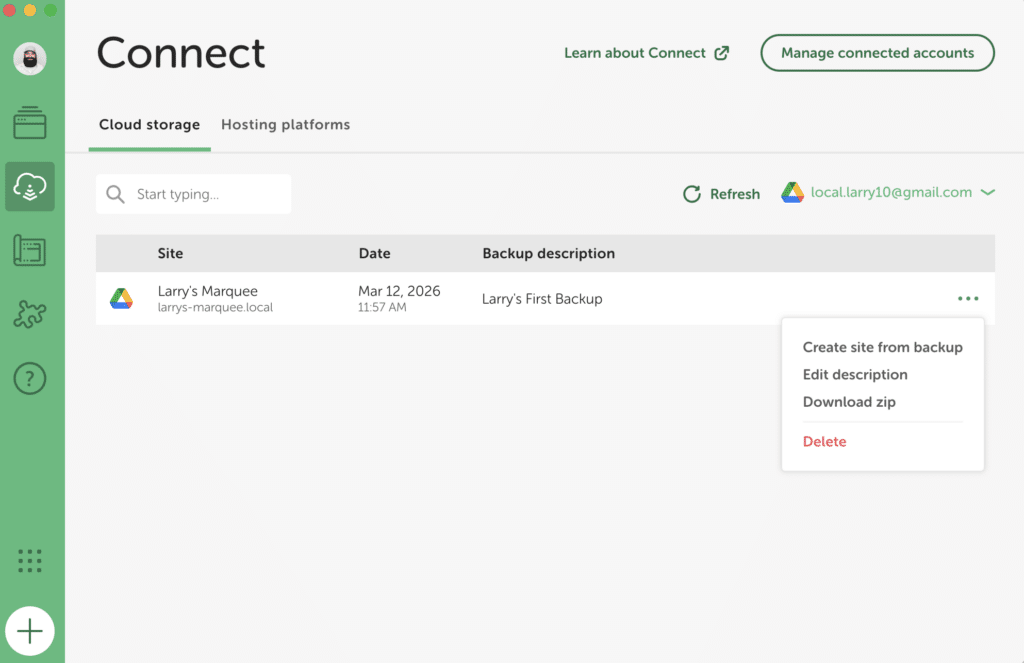
Managing All Backups
The Connect area in Local v10.0 includes a view that shows all your backups across your sites. From there, you can create a new site from a backup, or edit, download, and delete existing backups.
Use Cloud Backups with Multiple Machines
Local Cloud Backups can be restored on other machines, so that syncing work between two computers is fast and easy!
To get started with this workflow. On both computers:
- Install Local v10.0.0 or newer
- Log in to the same cloud provider (Google Drive or Dropbox) on both machines.
- When creating a new site on the second machine, select Create a site from backup.
- Follow the prompts to select the remote backup and the specific snapshot to restore.
Migrating your old Cloud Backups
If you’re an existing Cloud Backups add-on user, you’ll need to migrate your backups before you see them in backup section of Local (v10 or newer). Once your backups are migrated, you’ll also be free to delete the add-on. Here are the steps:
- Upgrade to Local v10.0 or newer, or download Local on a new machine.
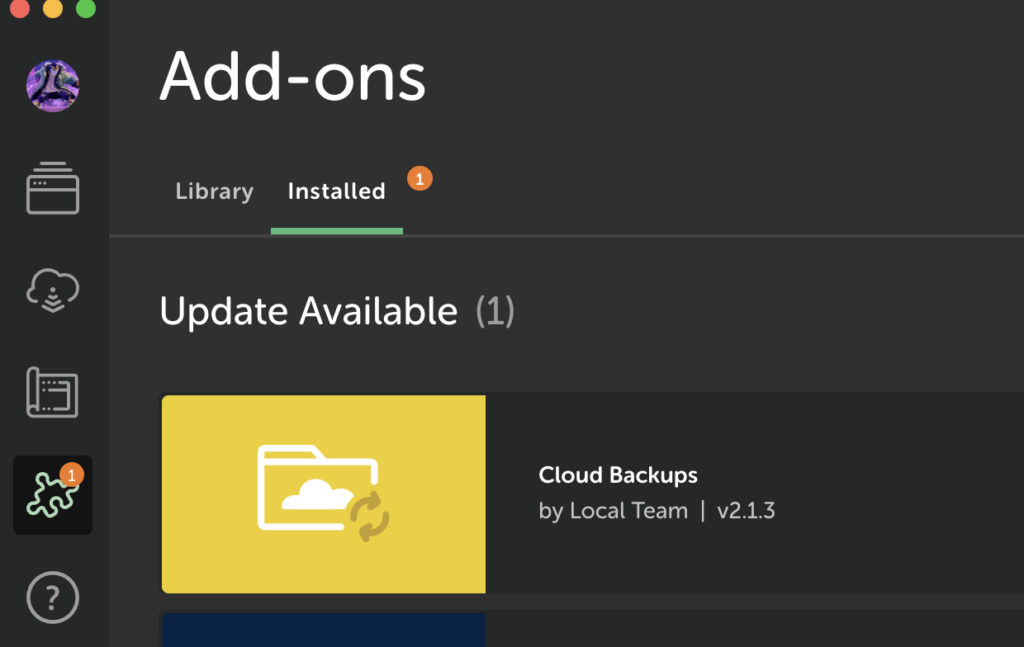
- Install or update the Cloud Backups add-on to version 2.2 or higher. You’ll see an update on the Add-ons tab if you have an old version.
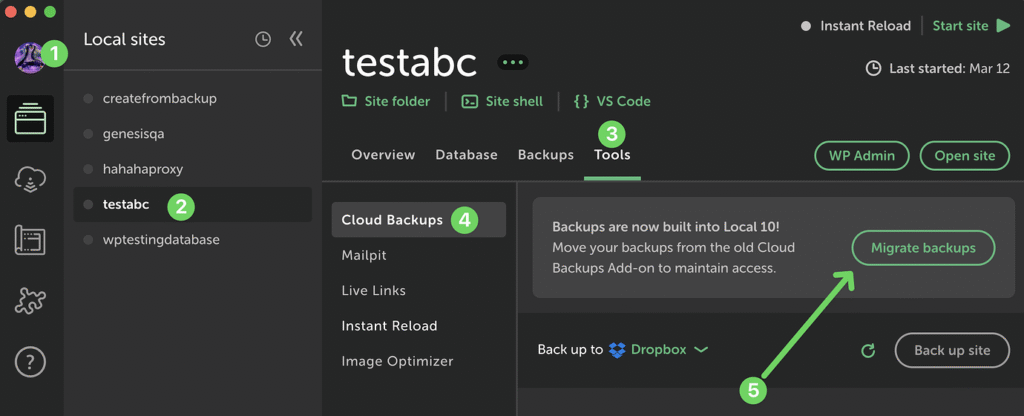
- Make sure you are logged in to Local for the migration (select “log in” from the person icon in the top-left). Visit any of your existing sites, go to Tools → Cloud Backups, and click the “Migrate backups” prompt. This will migrate all your backups, not just those for the site you’re currently viewing.
- Remove the Cloud Backups add-on when prompted at the end of the migration process.
- After Local restarts, log in to your Dropbox or Google Drive accounts directly at Local → Settings → Connected Accounts.
- Find a full list of your backups on the Connect page, or in the Backups tab on individual sites.
Why Migrate?
Local 10 makes backups a core feature:
- Backups are built into Local, no add-on required.
- Local connects and talks directly to your Cloud Provider and stores backup data there, no Local account or server needed.
- New options that were missing from the old Cloud Backups add-on, like ‘download zip’ and ‘delete’.
- Includes a new “Backups” view on the Connect tab to see all your backups in one place.
- Lets you share backups between machines by connecting both machines to the same Dropbox or Google Drive account.
- Optional custom password for each site’s backups.