Install Local
Installing Local should be easy, but if you’re having trouble, this is guide should help!
Table of Contents:
Where to Download
You can get the latest version of Local by visiting the releases page and downloading Local for your specific Operating System.

Minimum Requirements
In general, you’ll need at least:
- 4Gb of RAM
- 1.5GB of disk space
This should be enough to install Local as well as create a few new WordPress sites using the Preferred Environment.
You’ll need more disk space if you are working on large sites or if you need to download and install additional Lightning Services to run a Custom Environment.
For macOS users:
For Windows users:
- Local is compatible with Windows 10 (64-bit) or Windows 11. You’ll need to be on one of these two operating systems.
- Local is an Electron app; to ensure we’re staying up-to-date with the latest improvements and security fixes, we update Local and the underlying technologies at a regular cadence. As a result of these updates:
- Windows versions 7/8/8.1 are no longer supported as of Local v8.0.
- 32-bit versions of Windows are no longer supported as of Local v8.3.
Local can be installed on macOS versions before macOS Monterey (12) and Windows 7, 8, and 8.1; however, users will not have the full functionality of the latest Local version. If you’re on an older OS version and unable to upgrade, you’ll need to install v9.0.5 (for Mac) or v7.2.1 (for Windows) for full functionality. Here is a help doc on how to downgrade your Local version.
Allowing Local
In some instances, users have encountered the need for their IT or internal Security Team to authorize URLs utilized by Local for the seamless operation of our application on their network. To facilitate this process, we recommend adding the following main URLs to any allowlist. We’ve also included a brief explanation of their purpose for clarity:
Connects the Local Desktop app to the Local Web account. Certain Web-focused features require Local Web to do things on the Desktop app’s behalf. For example, the Backups Addon or Live Links feature.
To use Connect to WP Engine, the Local desktop app needs to generate and upload a key to WPE.
Powers the Connect to Flywheel functionality.
Local Desktop is bundled with preferred services (php/mysql/nginx), but will reach out to these domains to check for available services and download updates.
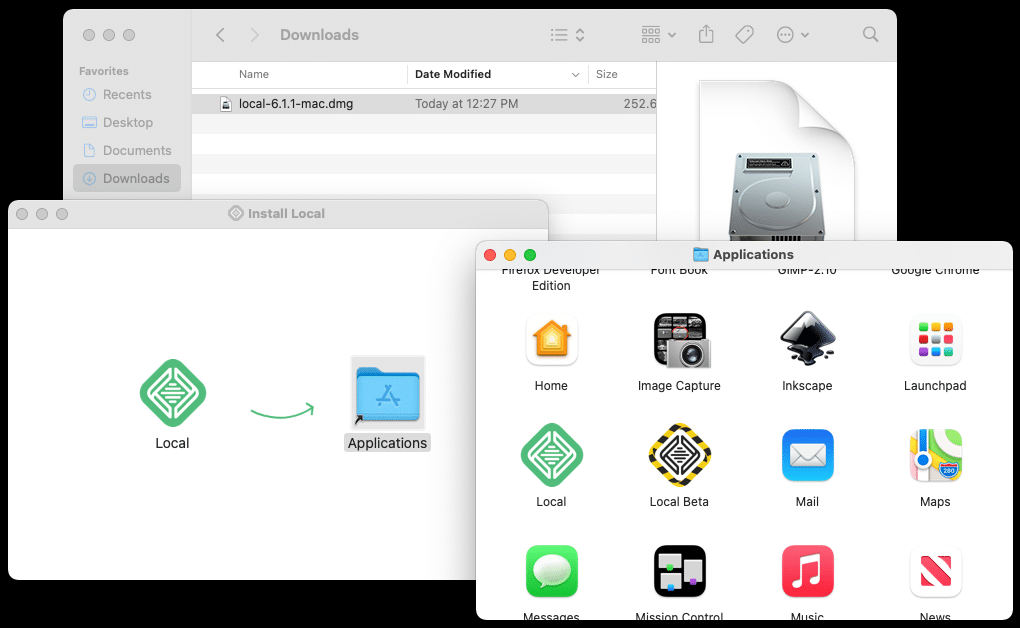
macOS
Installing Local on macOS is like any other application. Download the Local installer, double-click on the .dmg file, and move Local to the /Applications folder.
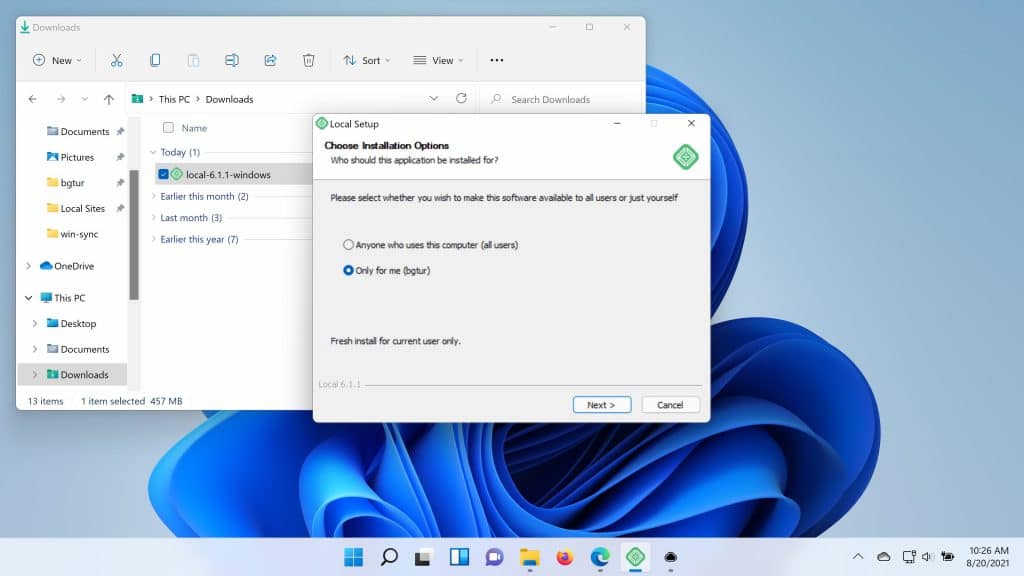
Windows
Installing Local on Windows is like any other application. Download the Local installer, double-click on the application and follow the prompts.
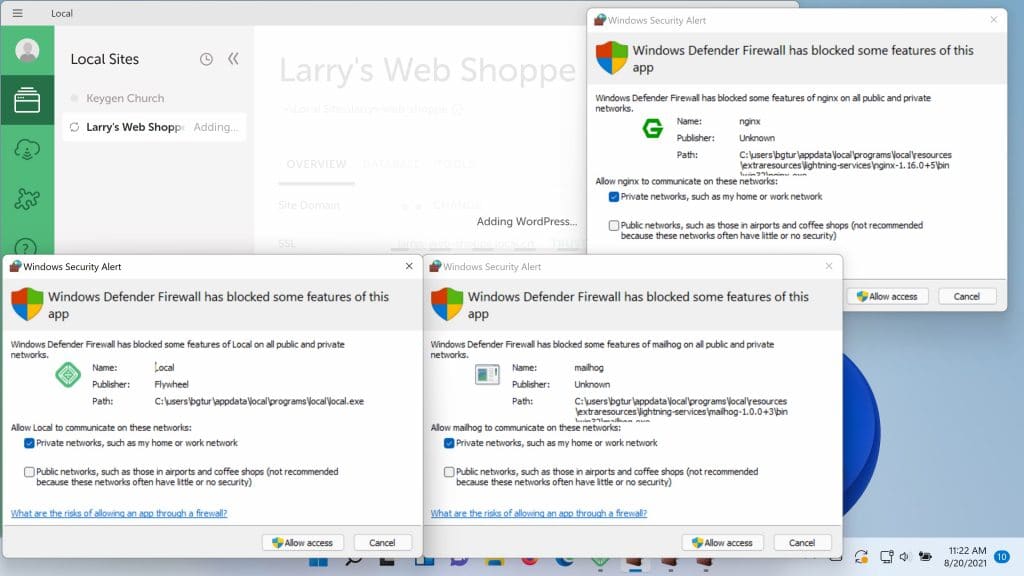
Once the main Local application has been installed, create your first site. Due to the way that security is handled under Windows, it’s likely that you’ll encounter a number of pop-ups from Windows Defender.
You’ll need to click the “Allow access” button on each of these so that the various parts of Local can communicate on the network.
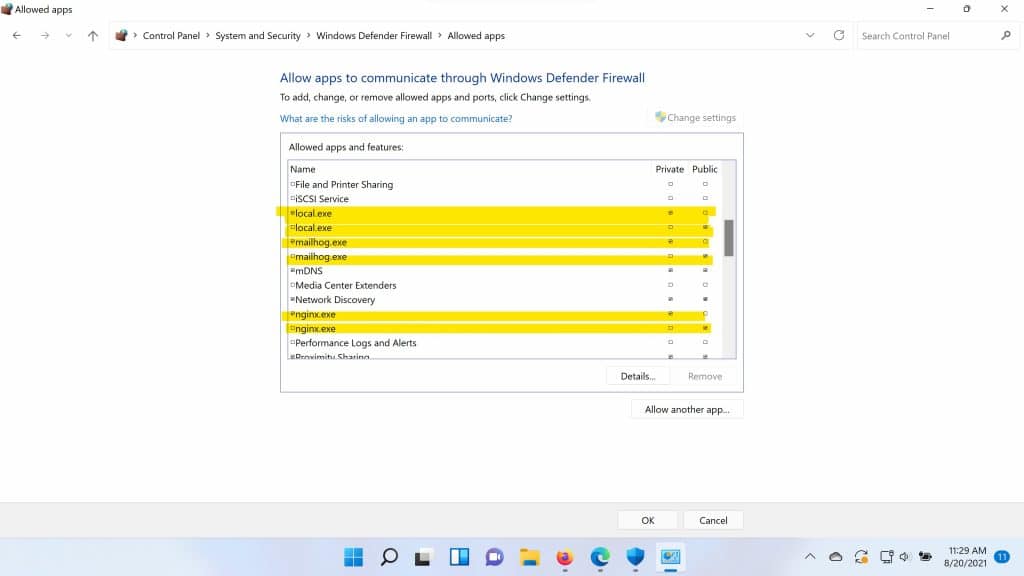
If for some reason you miss those pop-ups, you can always update the settings within the “Allowed Apps” section of “Windows Defender Firewall” settings.
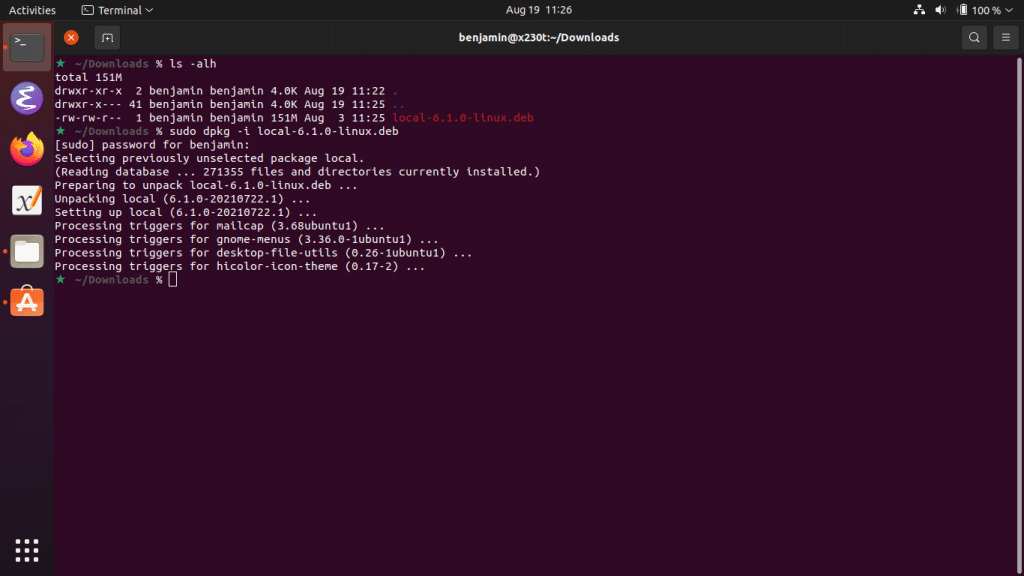
Debian-Based Linux
We compile a .deb version of Local and do some QA under Ubuntu and Pop_OS. It’s likely that Local will work under other distributions, we just haven’t tried it!
The process of installing Local under these systems is pretty easy and can be done by either:
- Double-clicking on the
.debfile to launch the package manager for your system. - Install the
.debusingapton the command line.