Cloud Backups Add-on
This help doc refers to the Legacy Cloud Backups Add-On. If you’re using the newer Local Cloud Backups feature built into your app, please visit this help article instead.
Cloud Backups Add-on for Local makes it easy to connect to your Cloud Provider (Google Drive or Dropbox) and quickly backup any Local site to the cloud.
Incremental backups are used, so only the exported database and any changed files are uploaded. This means your backups take less space on the provider (so you pay less!) and less time is wasted waiting for data to upload.
Table of Contents:
Requirements
There are a few things you need in order to make use of cloud backups:
- A Recent version of Local (at least
v6.0.0). - The Cloud Backups Add-on to manage backing up a site in Local.
- A Cloud provider (Google Drive or Dropbox) to store the backup data.
- A Local Account to manage the connection between Local and your cloud provider.
Use Cloud Backups for Local
Start by installing the Cloud Backups Add-on within Local.
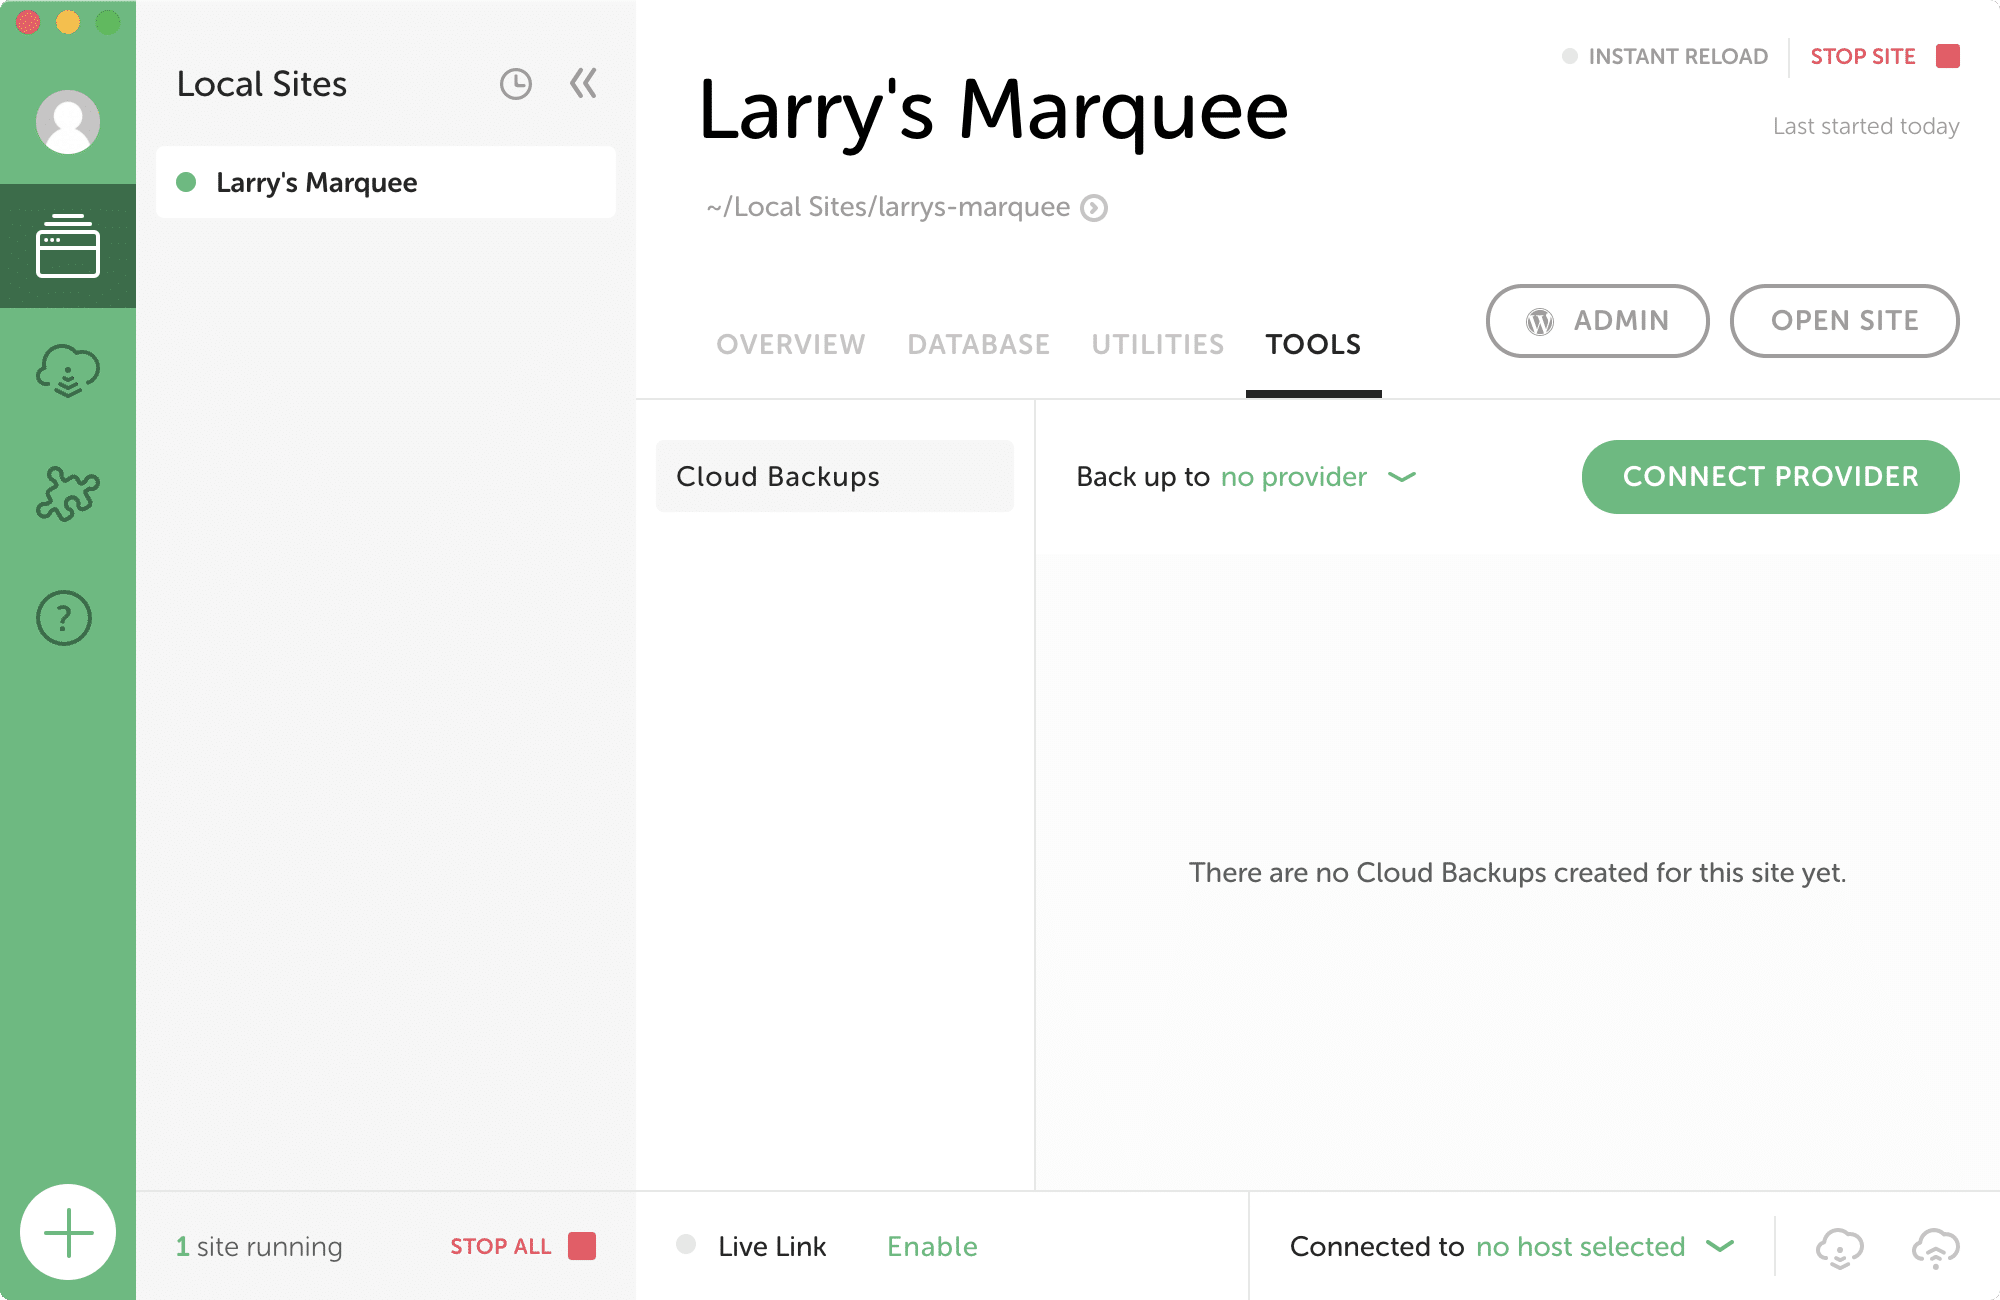
Once Local restarts, navigate to the “Cloud Backups” page of the “Tools” tab for any site you want to back up.
Any backup job can slow down a computer, especially when exporting a large database or uploading many files to the cloud. To make sure Local doesn’t overwhelm the computer, only one backup job can run at a time.
Using Cloud Backups is an easy and fast way to save and restore snapshots of a site as you’re working on it.
If for some reason you can’t use Local or the Cloud Backups add-on, your site data is still safe, and you can manually restore any backup by following the steps in this help doc.
Connect a site to a provider
If you haven’t set up any cloud providers within your Local Account, Local will direct you to make that connection. Click the “Connect Provider” button within Local to open your Local Account.
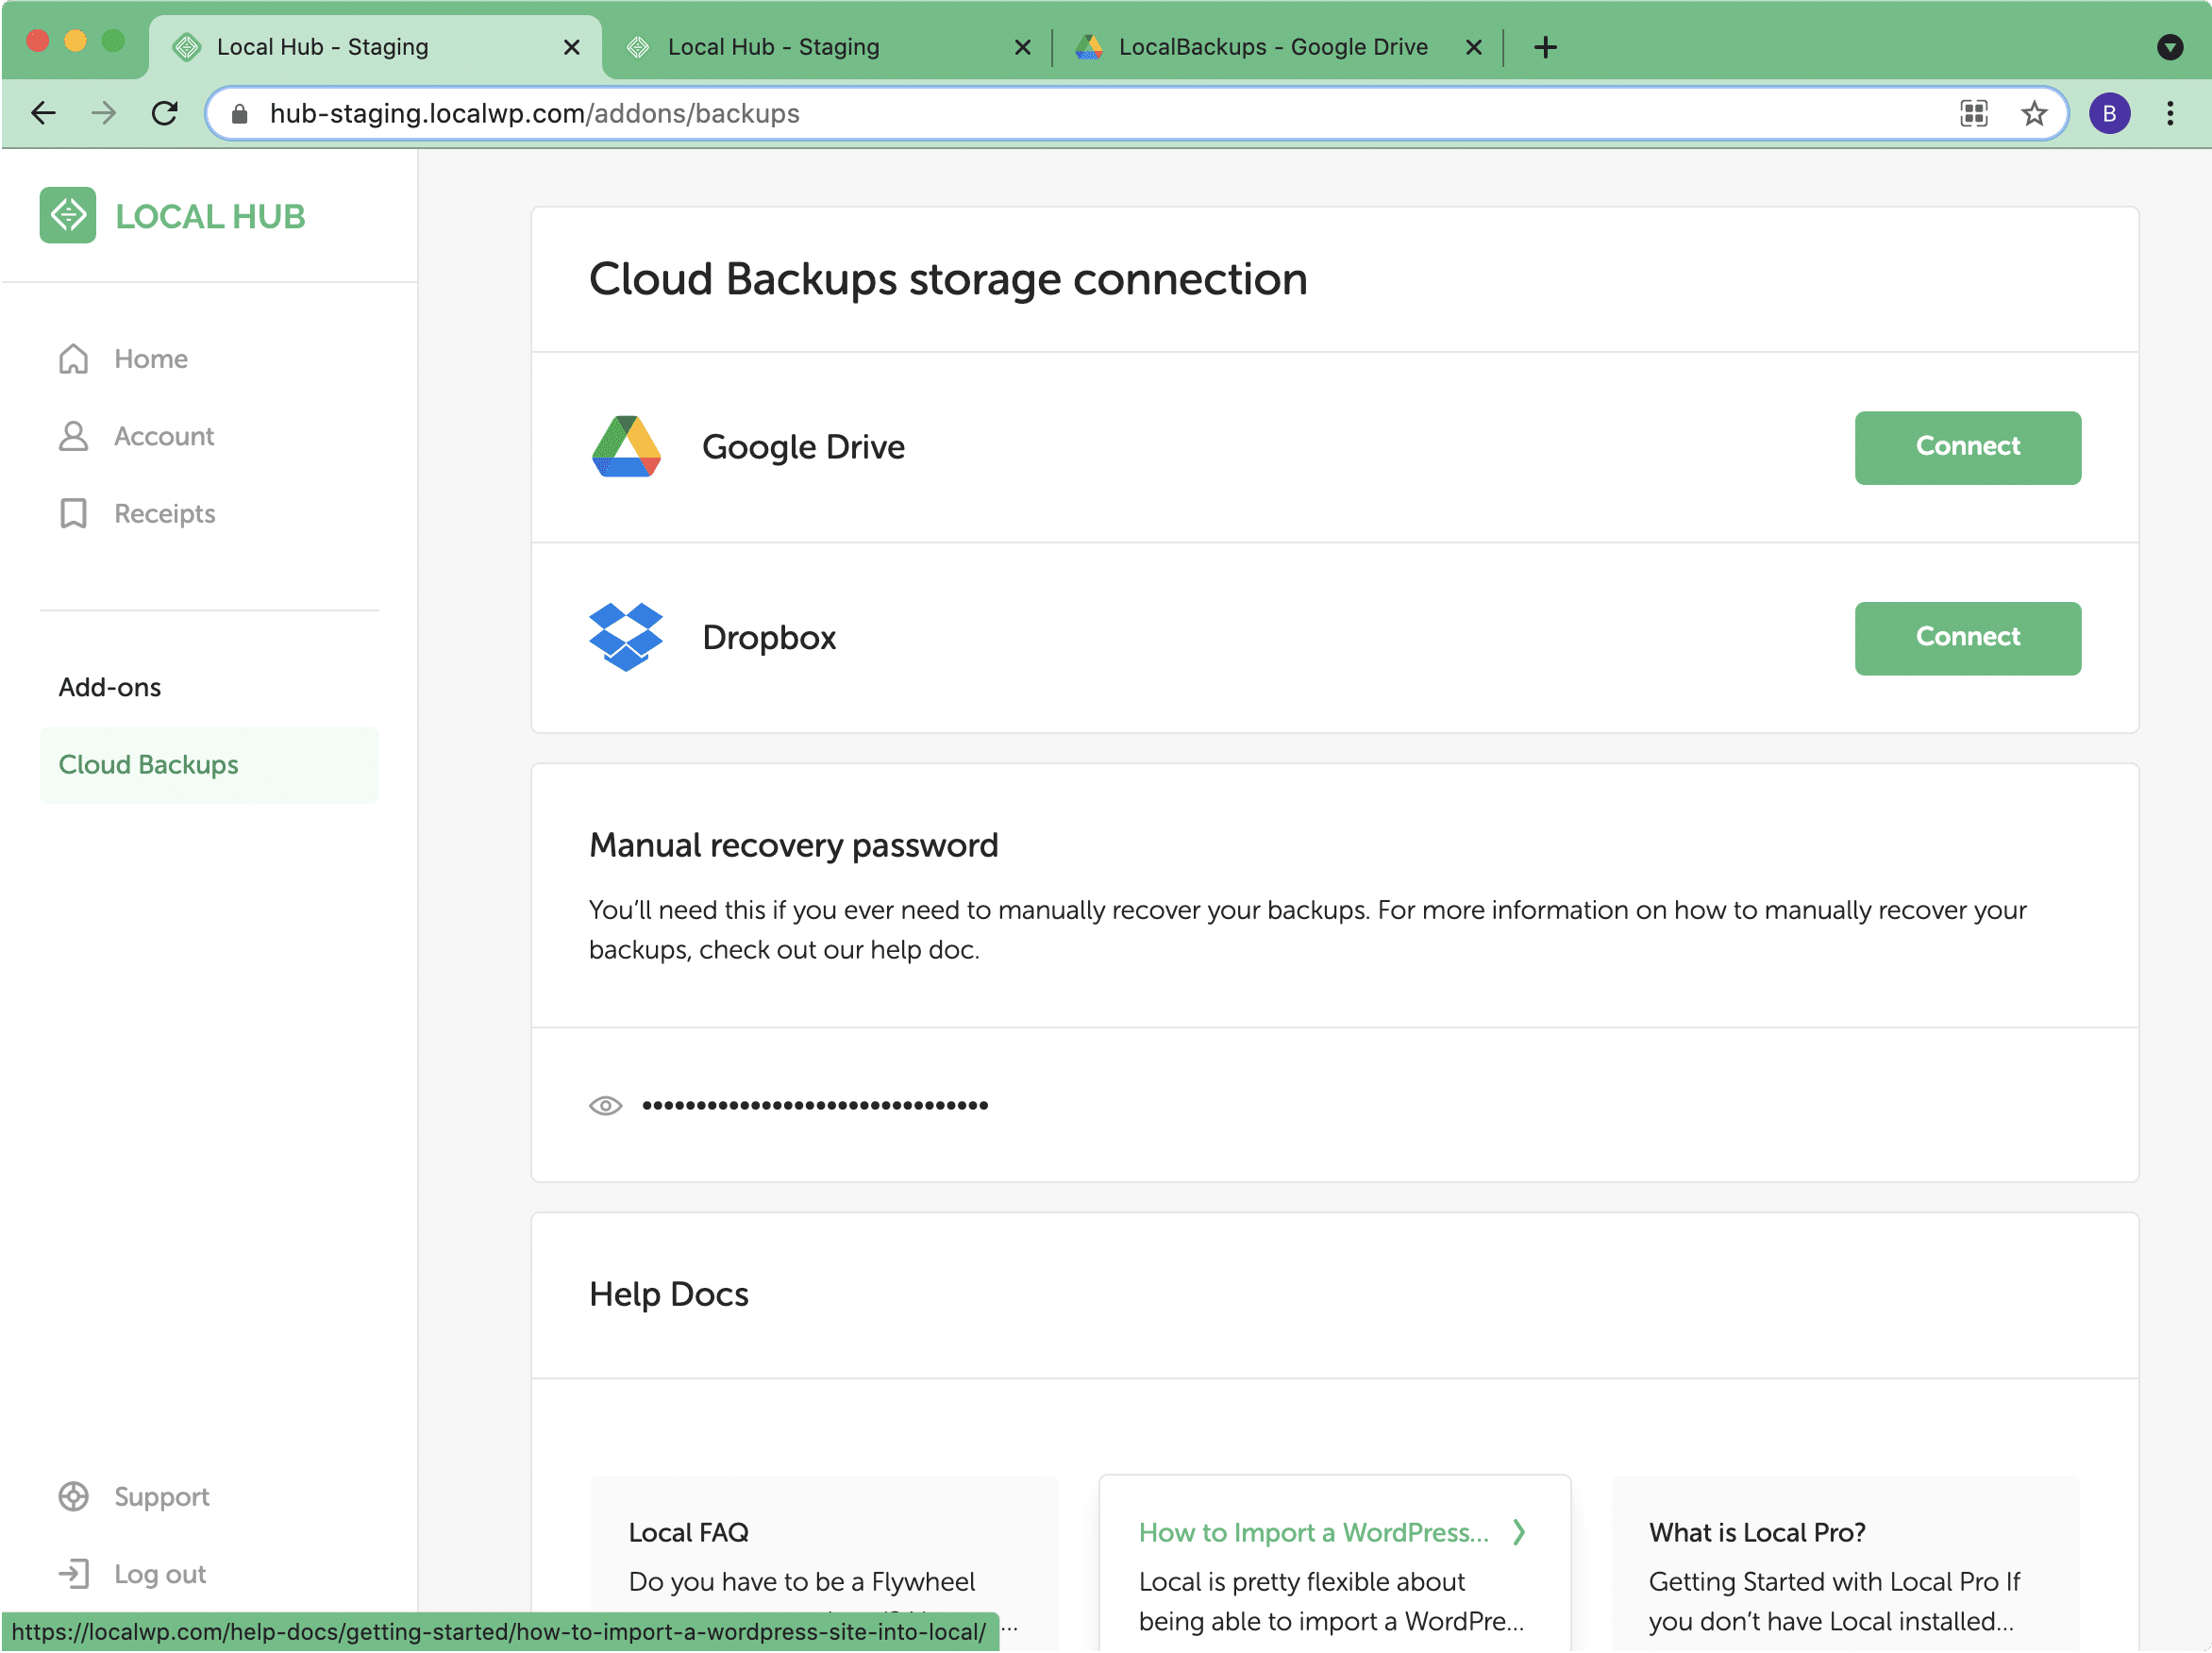
Within your Local Account, click the “Connect” button for the provider you’d like to set up and follow the instructions to finish configuring the connection.
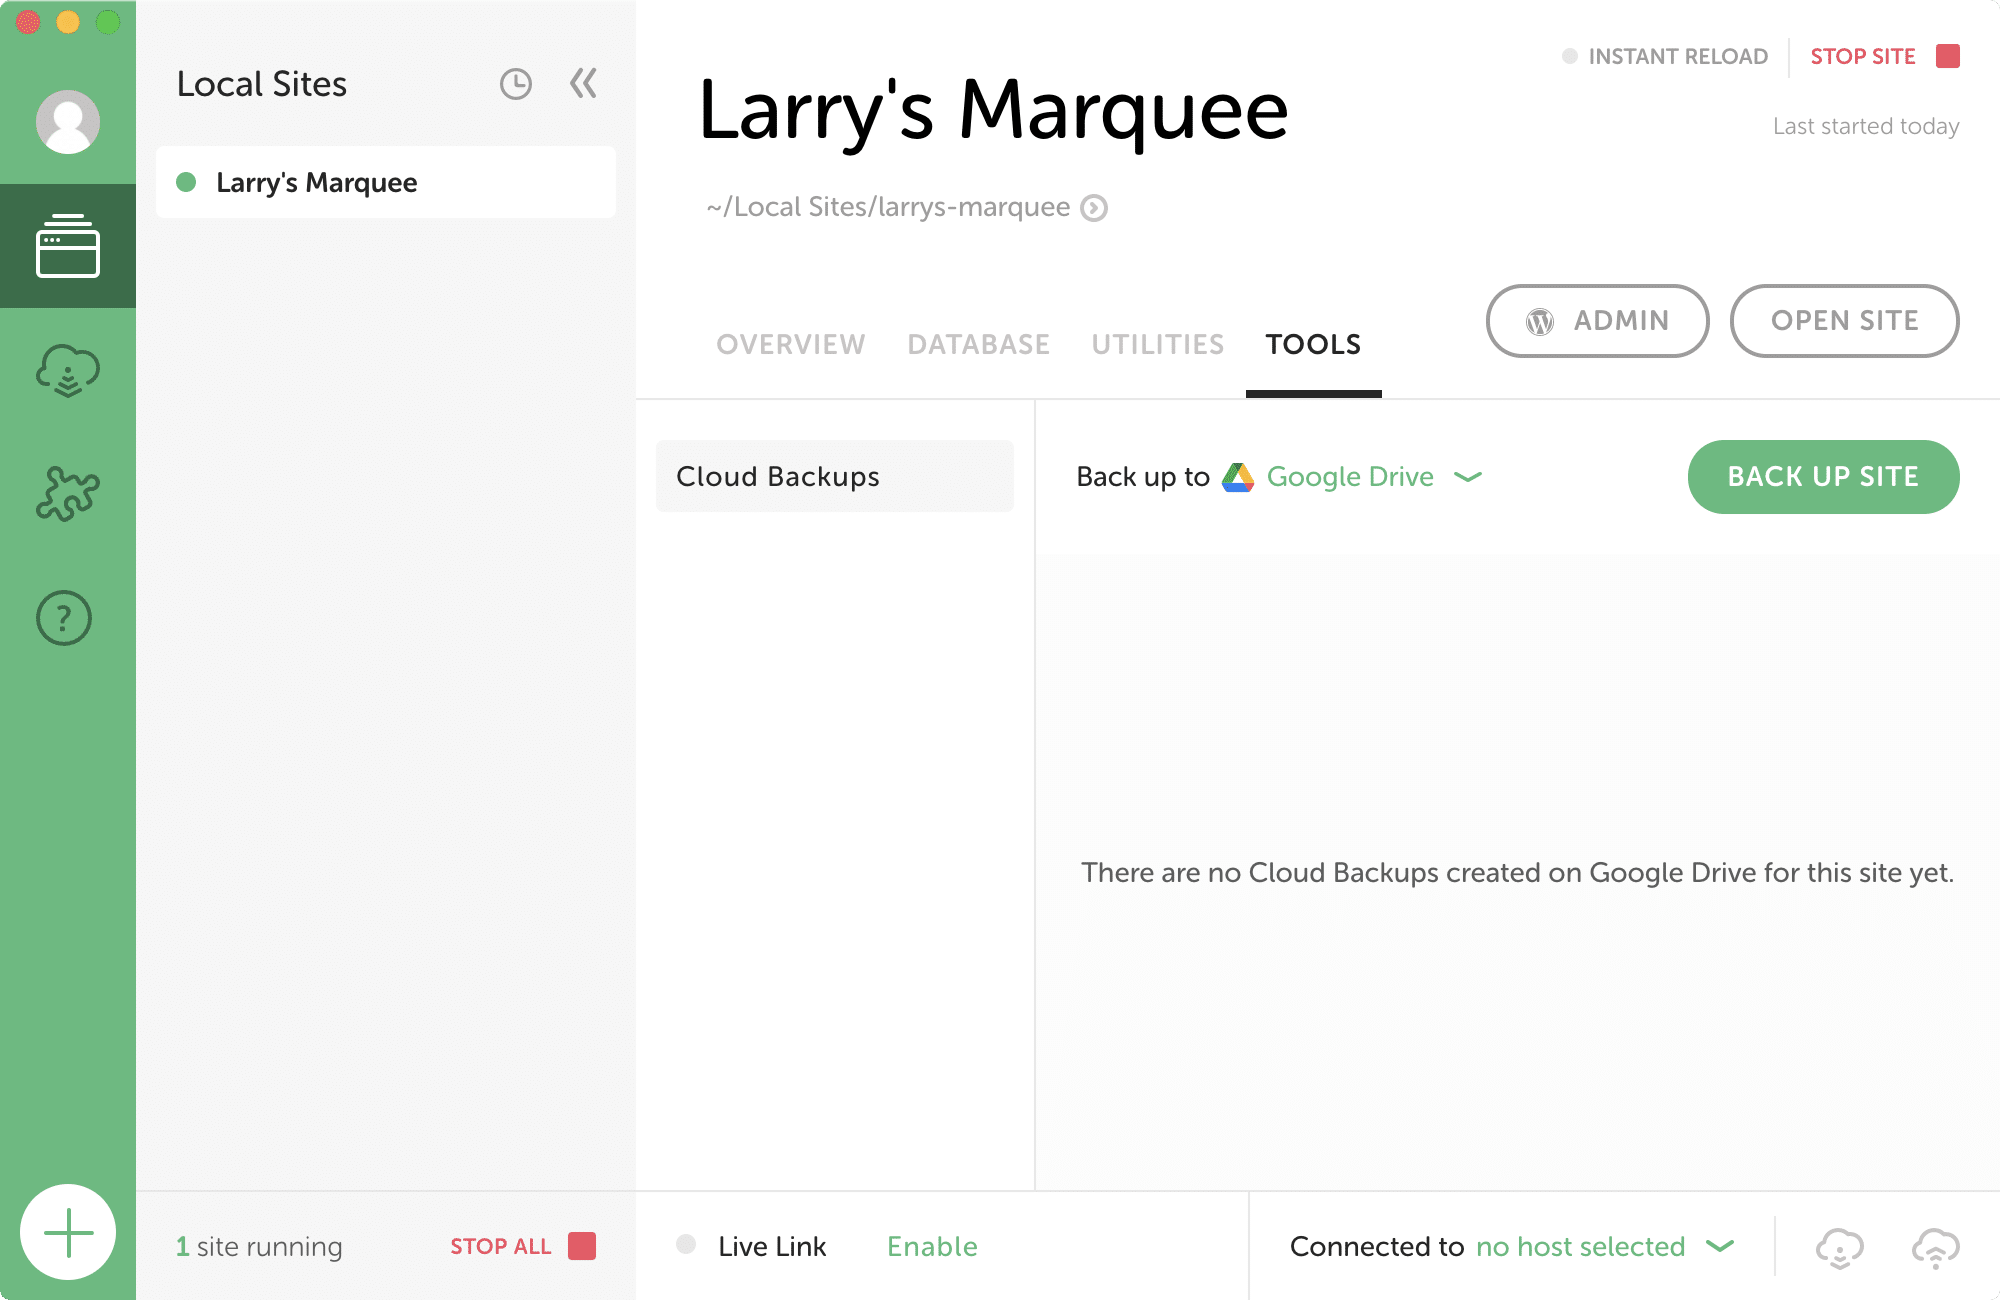
On the “Cloud Backups” page in Local, click the “no provider” link next to the “Backup to…” text and select the provider you want to use.

Back up a Site
Once connected to a cloud provider, everything is set to create and restore backups of the site! Click the “Back up site” button to create the first backup. As you continue development, take backups whenever you’d like a snapshot of what’s been done!
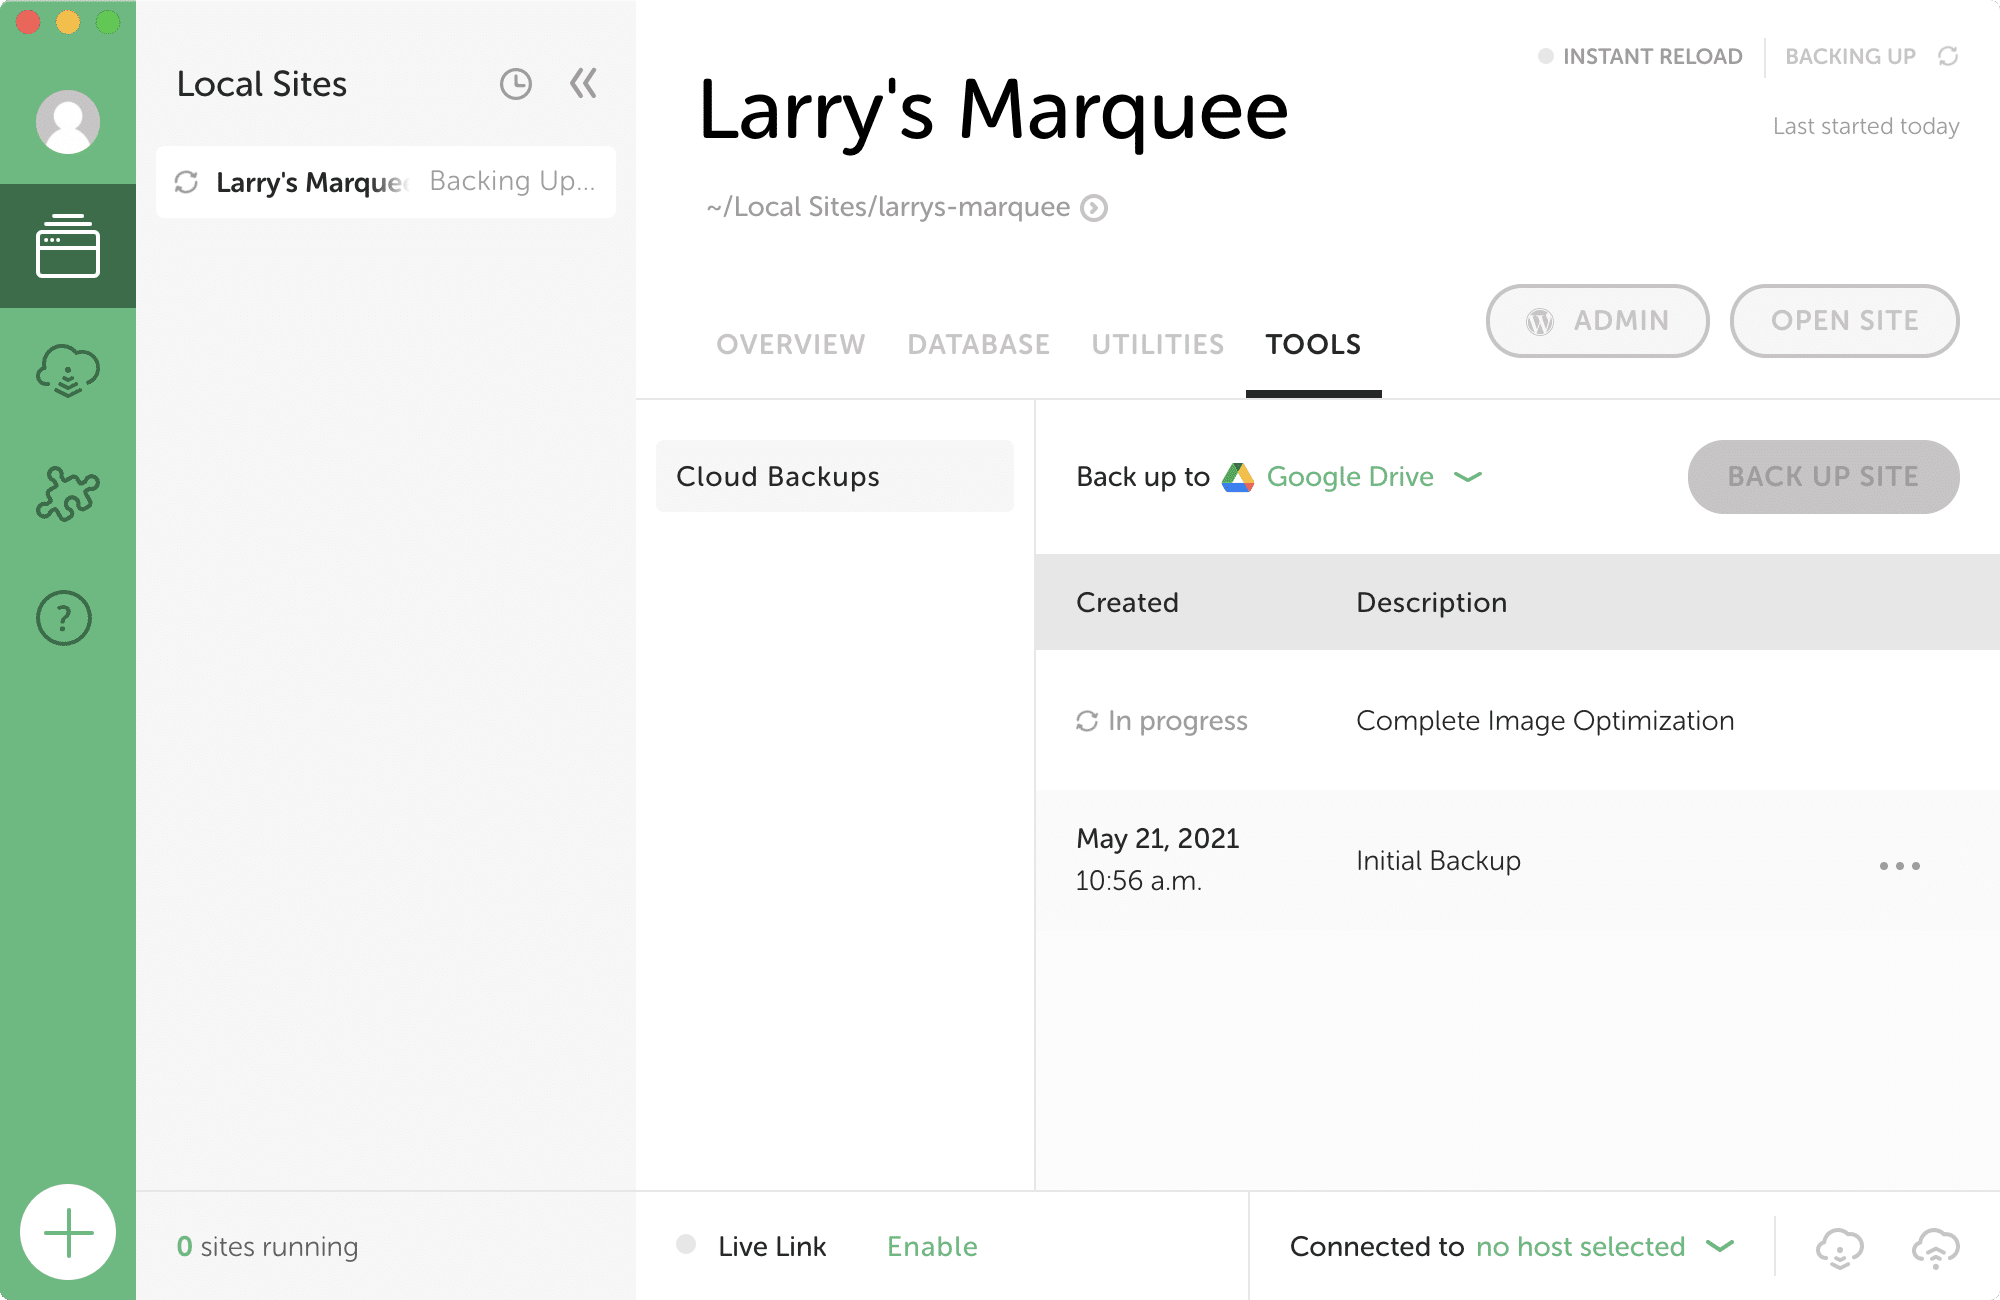
Because Cloud Backups uses incremental backups, only the data that’s changed will need to be uploaded, so future backups shouldn’t take as long to upload and you won’t need to pay for extra storage to save the same data over and over again!

Restore a Site
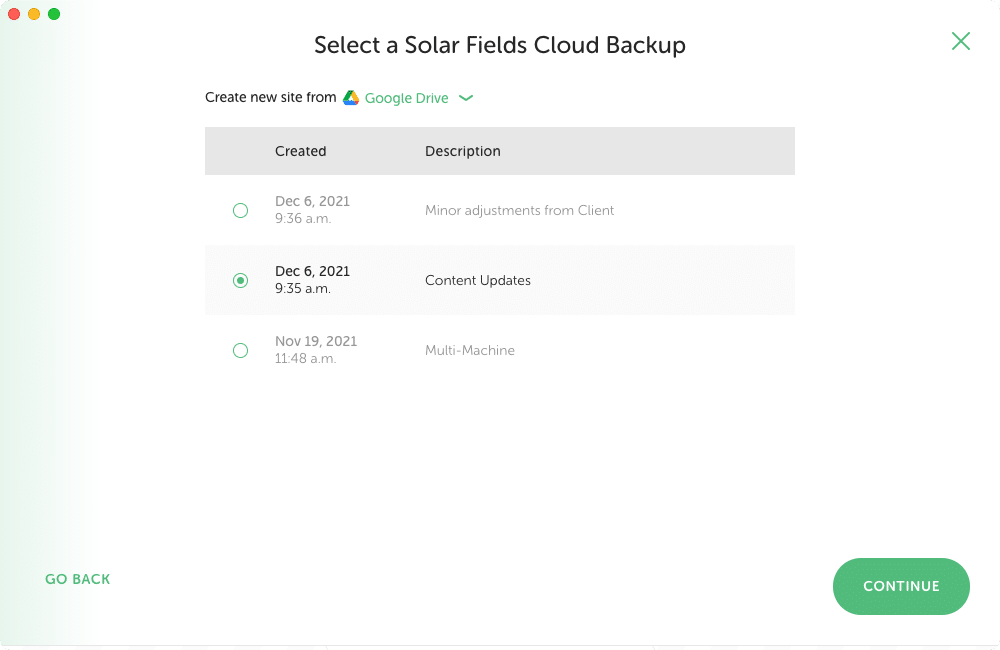
You can restore any backup by clicking on the three dots and selecting “Restore site…”.
Restoring a backup will overwrite the current site and will continue to be connected to the backups on your cloud provider.

Use Cloud Backups with Multiple Machines
Backups created with the Cloud Backups add-on can be restored on other machines too. This means that syncing work between two computers is fast and easy!
There are a few things you need to do to get started with this workflow. On both computers:
- Install the latest version of Local.
- Install and activate the Cloud Backups Add-on from the “Add-ons” tab in Local.
- Ensure that you’re logged into your Local Account by clicking the user avatar in the upper-left corner of the Local App.
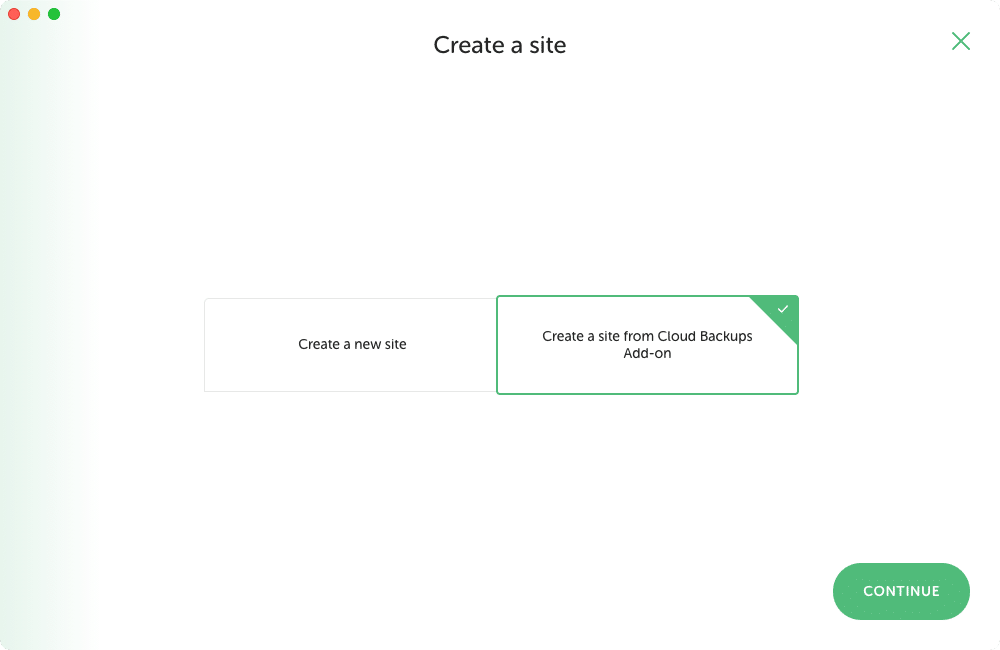
With those things in place, create a backup on the source machine using the instructions from earlier in this help doc. Once the backup is complete, move to your second machine and create a new site.
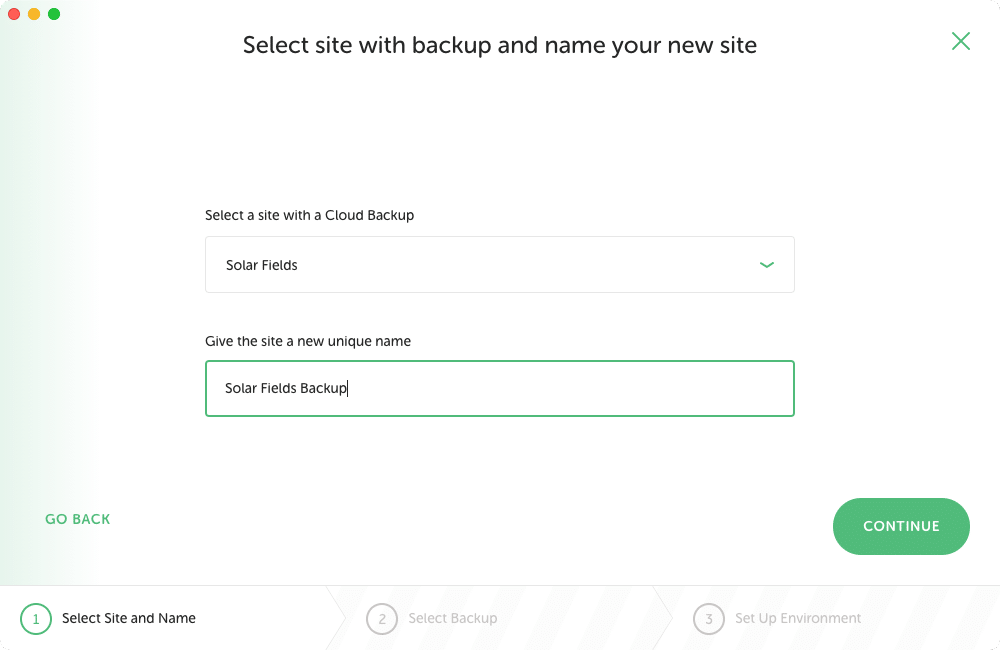
The first screen of the “Create Site” flow will include an option to create a site from a backup. Select the “Create a site from Cloud Backups Add-on” option and complete the next steps to finish restoring the site on the target machine!