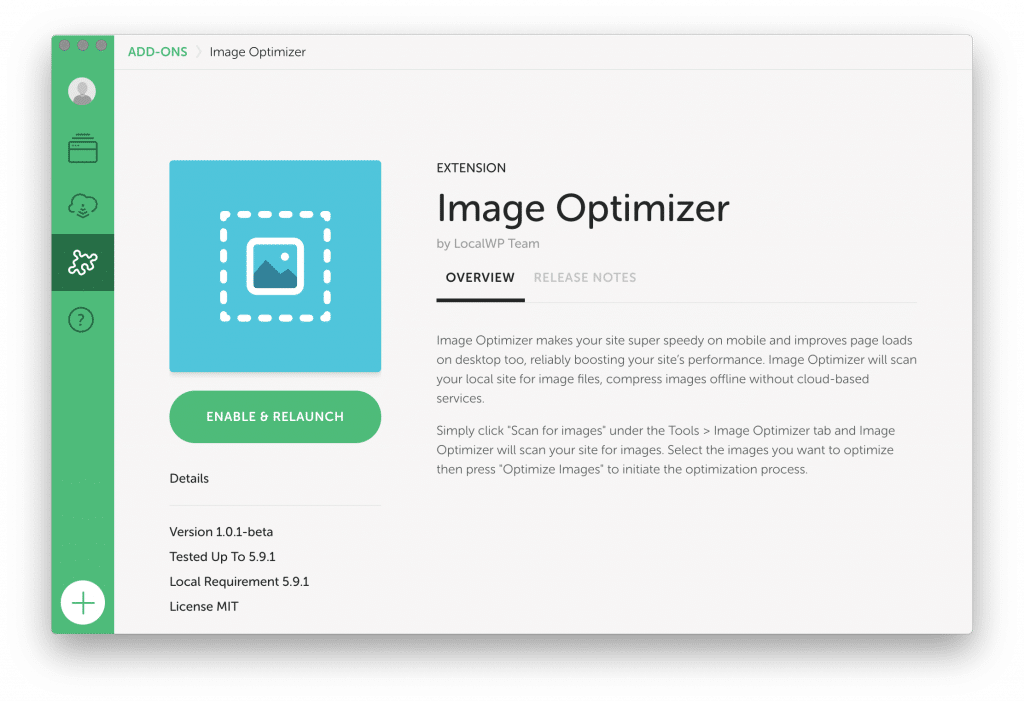
Image Optimizer
Image Optimizer is an Add-on for Local that helps you optimize the images on your site by efficiently compressing those images and removing unnecessary data. A site that uses un-optimized images will score lower in SEO ranking and potentially frustrate users with slower performance.
Table of Contents:
Get Image Optimizer
The easiest way to get the Image Optimizer is to install it from the Add-ons tab within Local.
You can also manually download the add-on from the Image Optimizer Add-ons page.
If you’re curious about how this add-on was built, or want to manually install the add-on from the source code take a look at the repository on Github.
Using Image Optimizer
Once the Add-on has been installed, you can find Image Optimizer under the “Tools” tab for the site you’d like to work on. The general workflow for using Image Optimizer looks like this:
- Scan for images to be optimized.
- Select which images to process.
- Sit back and let the tool optimize!
How the images are optimized
Ok, great, I’m saving space, but what’s really happening to the media used on my site?
At this time, Image Optimizer is focused on a few things to get your images in the best place they can be.
Here’s a shortlist of things that Image Optimizer is doing:
- Only
jpegimages are optimized. Other media likepng,gif,svg, or.mp4are not handled at this time, though optimizing additional file types is on the roadmap. - Only
jpeg‘s that are contained within thewp-content/uploadsfolder will be scanned and optimized. Any images that are contained within another folder like the theme, or any plugin folders will not be optimized. - If enabled in the Add-on settings, file metadata will be removed. The kind of metadata that is removed relates to things like camera settings, EXIF metadata, and other potentially identifying data. This helps decrease file size as well as remove potentially sensitive, identifying data.
- To ensure that there isn’t any loss of quality, only “Lossless” compression is available. Future versions of Image Optimizer will include the ability to optimize with “Lossy” compression.
Settings can be adjusted in “Preferences > Add-ons > Image Optimizer”
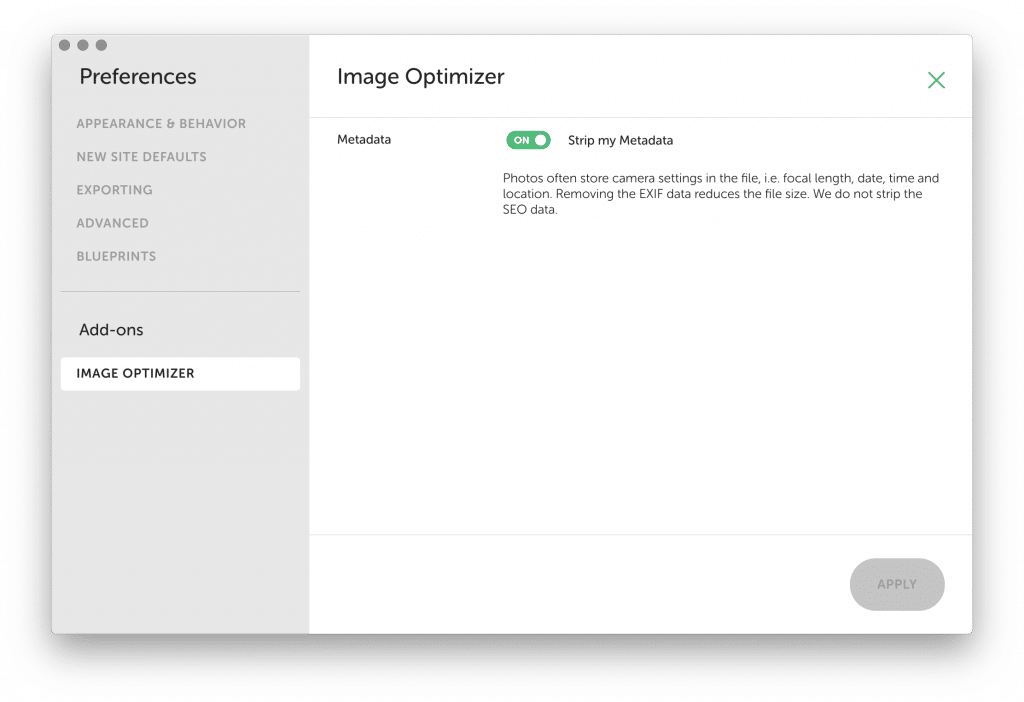
Image Metadata
One of the optimizations that Image Optimizer performs is to strip the metadata from a file.
Often digital photos will contain all sorts of information related to the image, which is useful when editing the image in tools like Photoshop. When publishing images on the web, this information isn’t useful and, in some cases, can leak private data to the world.
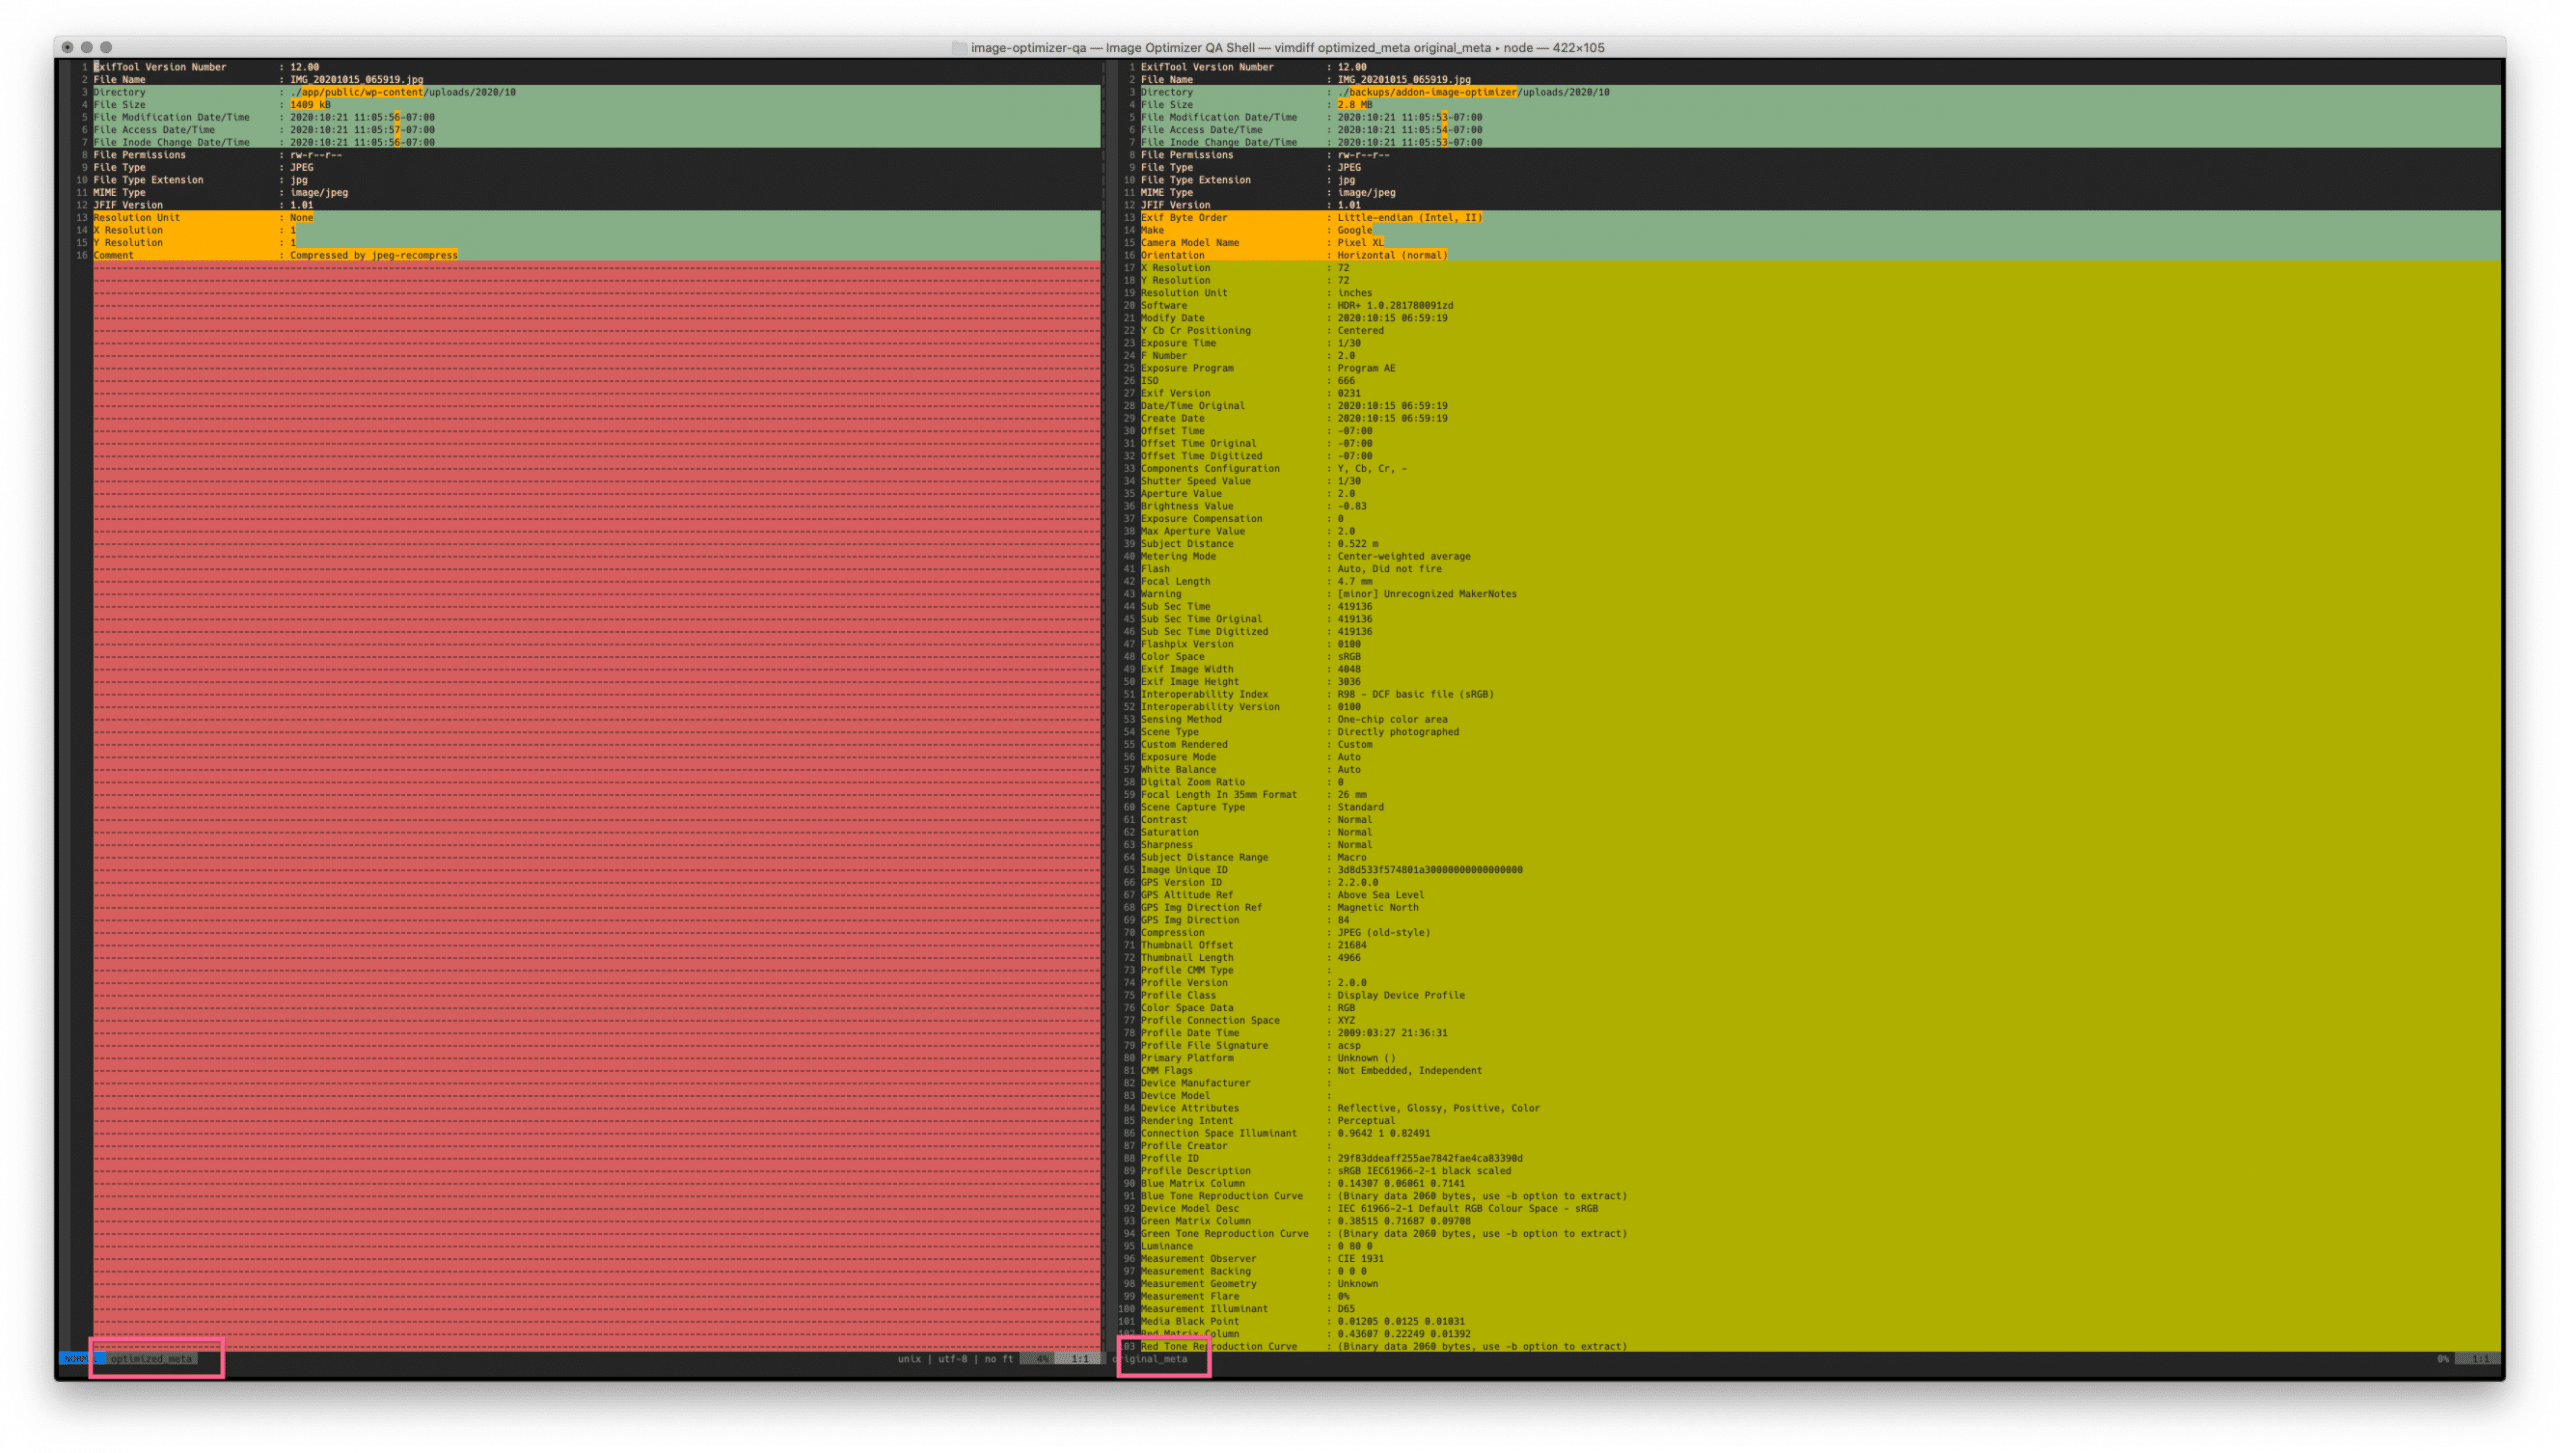
If you’re curious about the exact kind of data being stripped, I recommend using a tool like exiftool to compare the original image with the optimized one. For example, here’s an image taken with a Google Pixel and run through the Image Optimizer tool.
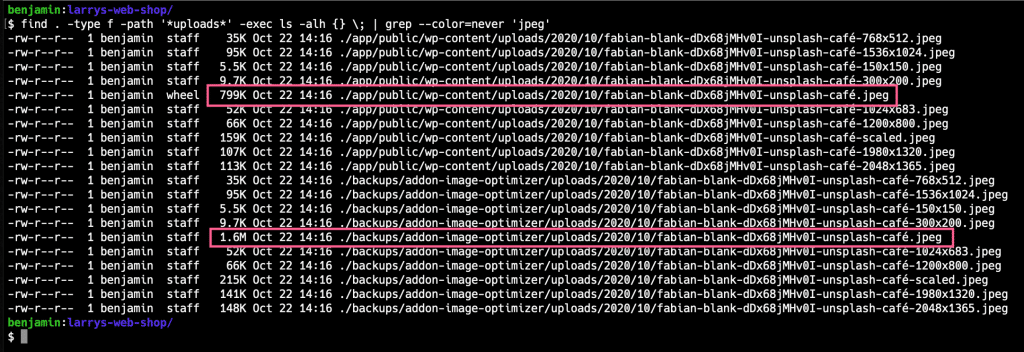
Original images
All original images are saved to the backups folder within the Local site which can be reached by right-clicking on the site in Local and selecting “Reveal in Finder.”
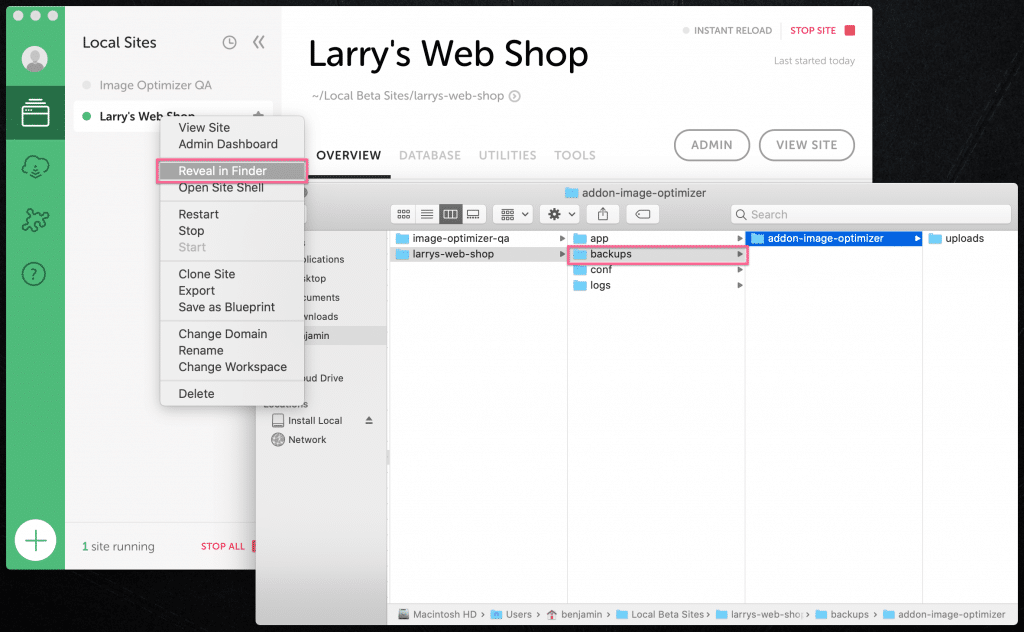
You can always review or restore the original images by copying them back to their original location within the wp-content/uploads folder.
Troubleshooting
The best way to zero in on what has gone wrong with the optimization process is to review what messages are in the Local Log.
To access the Log, click on “Help > Reveal Local’s Log” or see this help doc for more information.
Once you are viewing the log, you should see Image Optimizer entries that look something like this, and should give you a general direction on what things to investigate next.