Local Connect
The Local Connect feature helps you move a site between Local and your remote hosting provider (WP Engine or Flywheel).
Pulling a site down to Local allows you to quickly create a sandbox for experimenting with new ideas or testing updates to plugins and themes. Once you finish working on the site, deploying is easy by clicking the “push” button!
Throughout development, you can pull down changes to the remote site to always have the latest content. Along the way, you can push works-in-progress to a staging environment to get feedback from co-workers or clients.
Getting started with Local Connect is easy:
- Connect Local to your hosting provider (Flywheel or WP Engine).
- Start pushing or pulling and select the remote environment you’d like to use!
Table of Contents:
Connect to a hosting provider
If you would like to connect to a hosting provider that is not Flywheel or WP Engine we suggest you download the plugin WP Migrate and utilize their Full-Site export feature. Here’s a doc that walks you through that process.
Connect to WP Engine
Step 1: Enable API Access
Go to the API Access page under Users > API Access to manage your account’s API settings. Next, toggle API access for the account you wish to enable.


Step 2: Install Local
Make sure you’re running the latest version of Local.
Step 3: Sign in to WP Engine
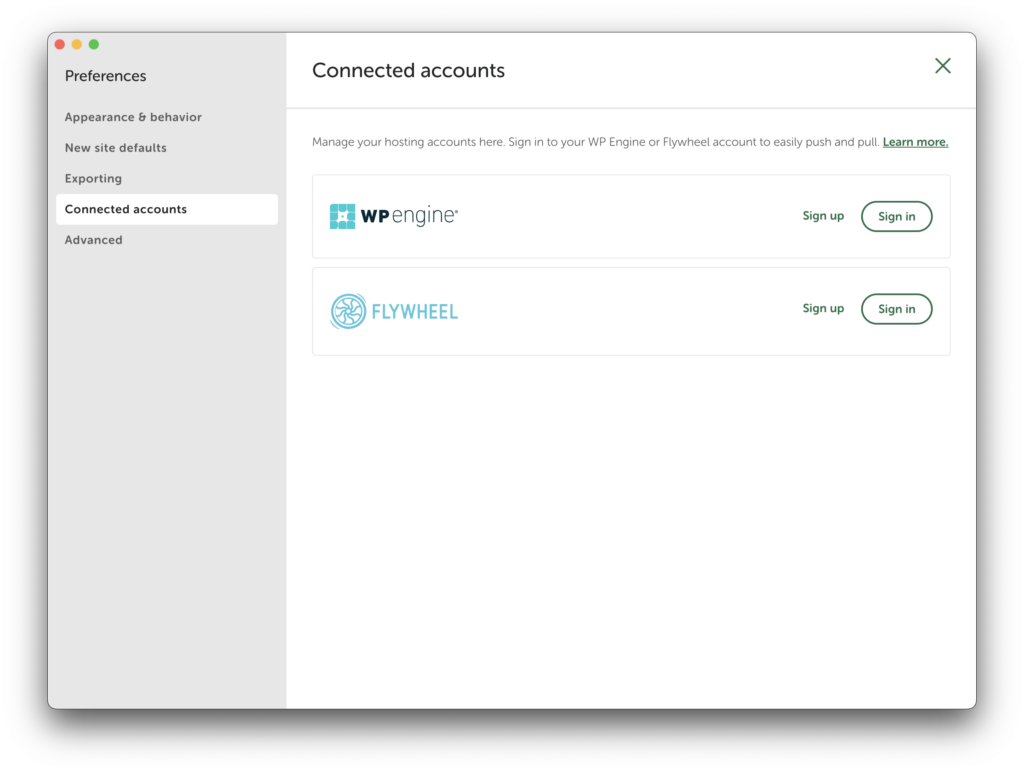
The last step is to log in to WP Engine with the same credentials used to log into the WP Engine User Portal. Connected accounts are managed inside Local’s Preferences window.
Step 4: Enter WP Engine Credentials
You’ll be prompted to enter your WP Engine hosting credentials.

Step 5: Confirm the connection in Local
Now that you’re logged in to your WP Engine account, you’ll get redirected back to Local. You’ll know you’ve logged in successfully because your WP Engine sites will now be listed within the “Connect” tab of Local!
Only one WP Engine account is supported at this time, but you can always log out from one profile and log in to another!
Local Connect does not support a full WP Engine Headless Platform push/pull; the functionality is available specifically for the WordPress install and site files. It does not currently support pushing and pulling the front end to and from a headless site on WP Engine.
You can learn more about WP Engine’s Headless Platform and headless WordPress here.
Connect to Flywheel
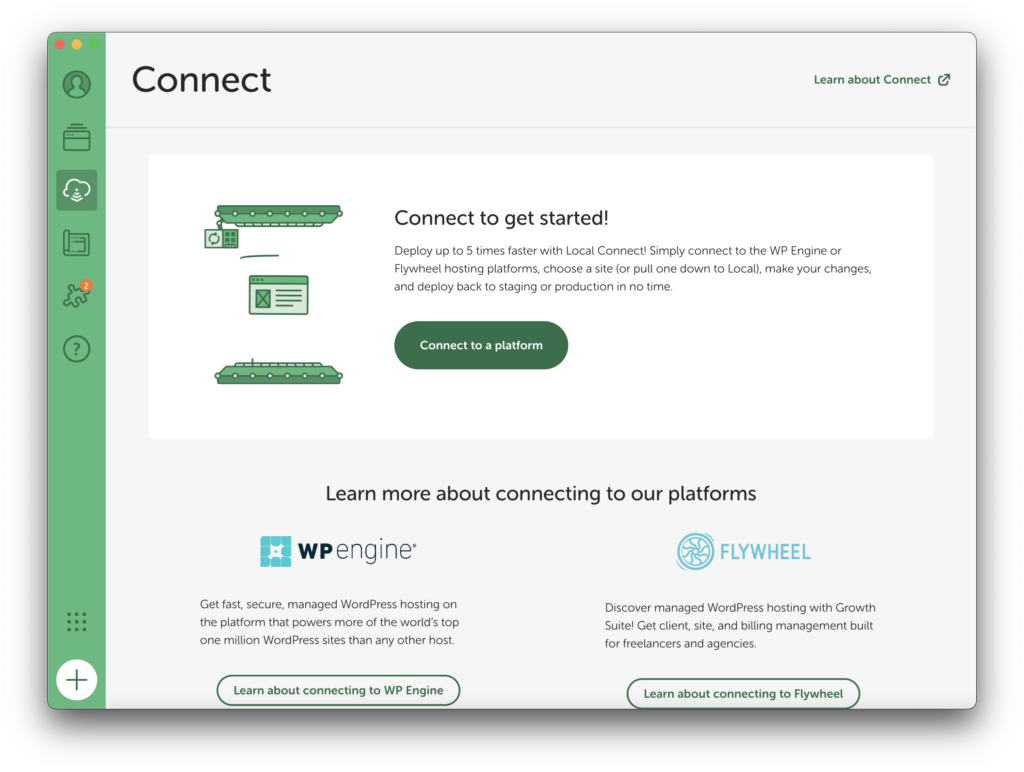
Step 1: Navigate to the “Connect” tab in Local
To get started, navigate to the “Connect” tab in Local, and click the “Log in to Your Host” button.
Step 2: Log in to Flywheel
Select “Connect to a platform” to be taken to the “Connected accounts” section of Local’s Preferences. Select the sign in link next to Flywheel.
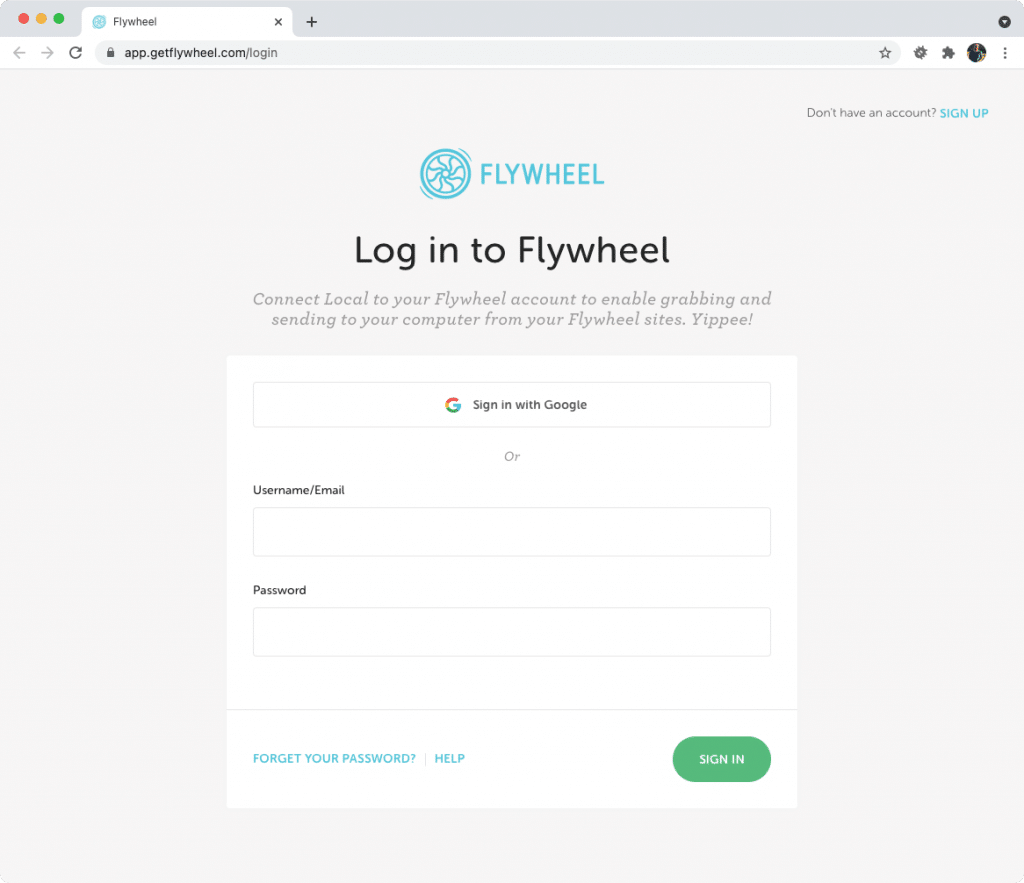
Step 3: Enter Flywheel Credentials
You’ll be prompted to enter your Flywheel hosting credentials.
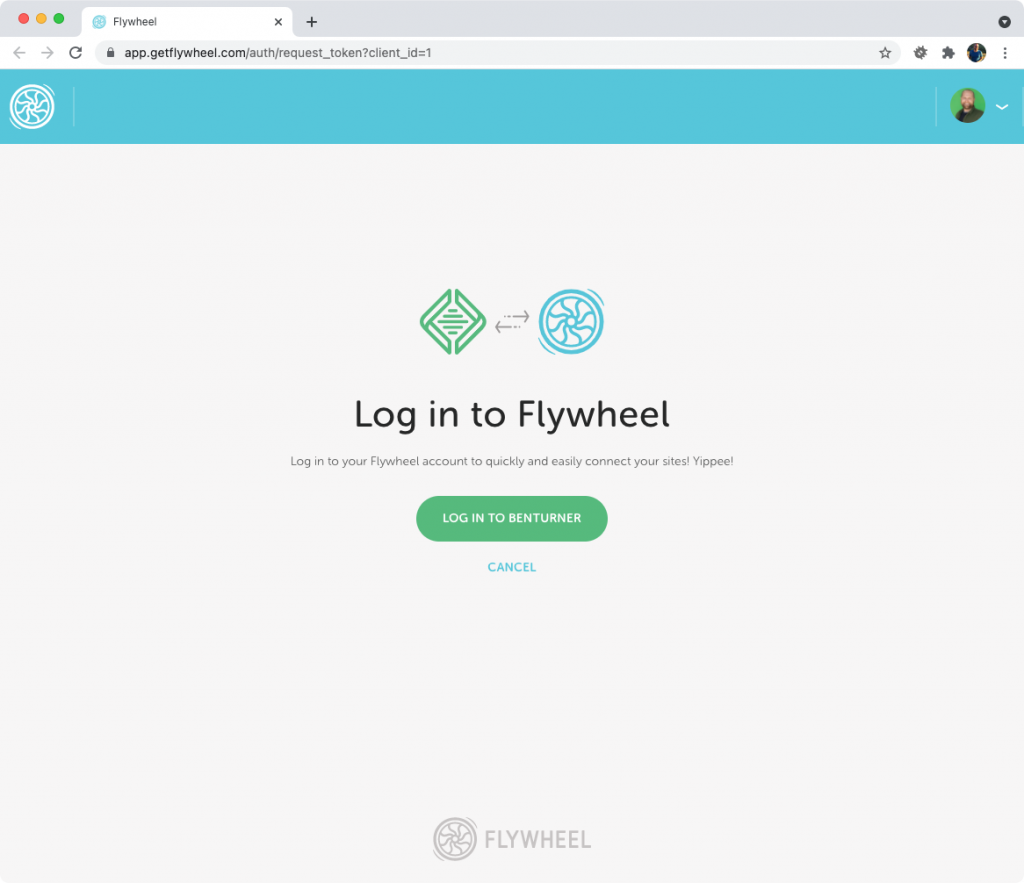
Step 4: Confirm the link to Local
Within your Flywheel account you’ll be prompted to confirm the link to Local.
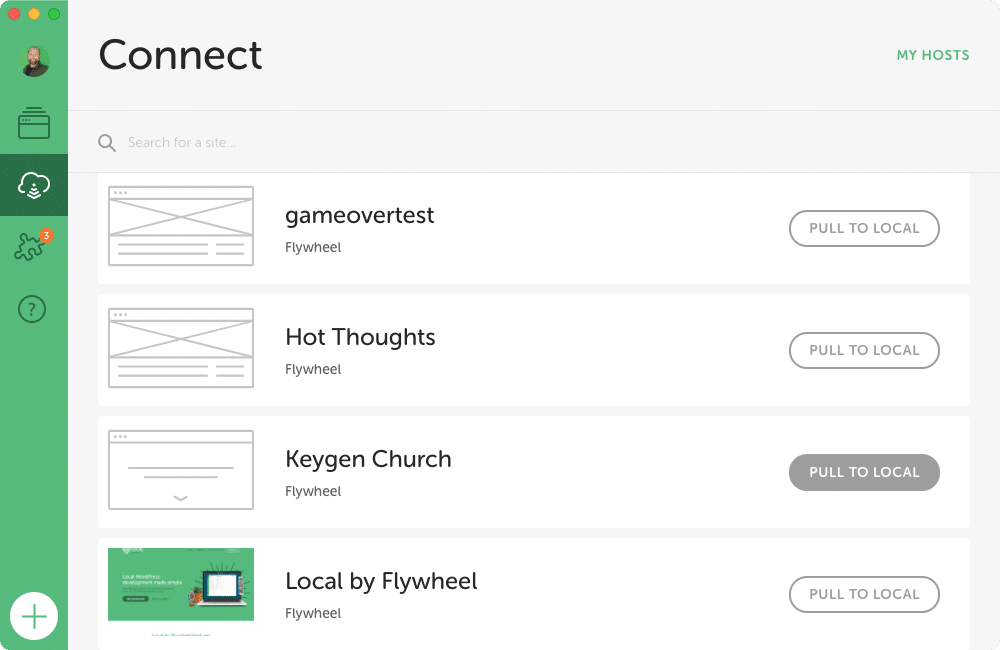
Step 5: Confirm the connection in Local
Now that you’re logged in to your Flywheel account, you’ll get redirected back to Local. You’ll know you’ve logged in successfully because your Flywheel sites will now be listed within the “Connect” tab of Local!
Only one Flywheel account is supported at this time, but you can always log out from one profile and log in to another!
Push and Pull
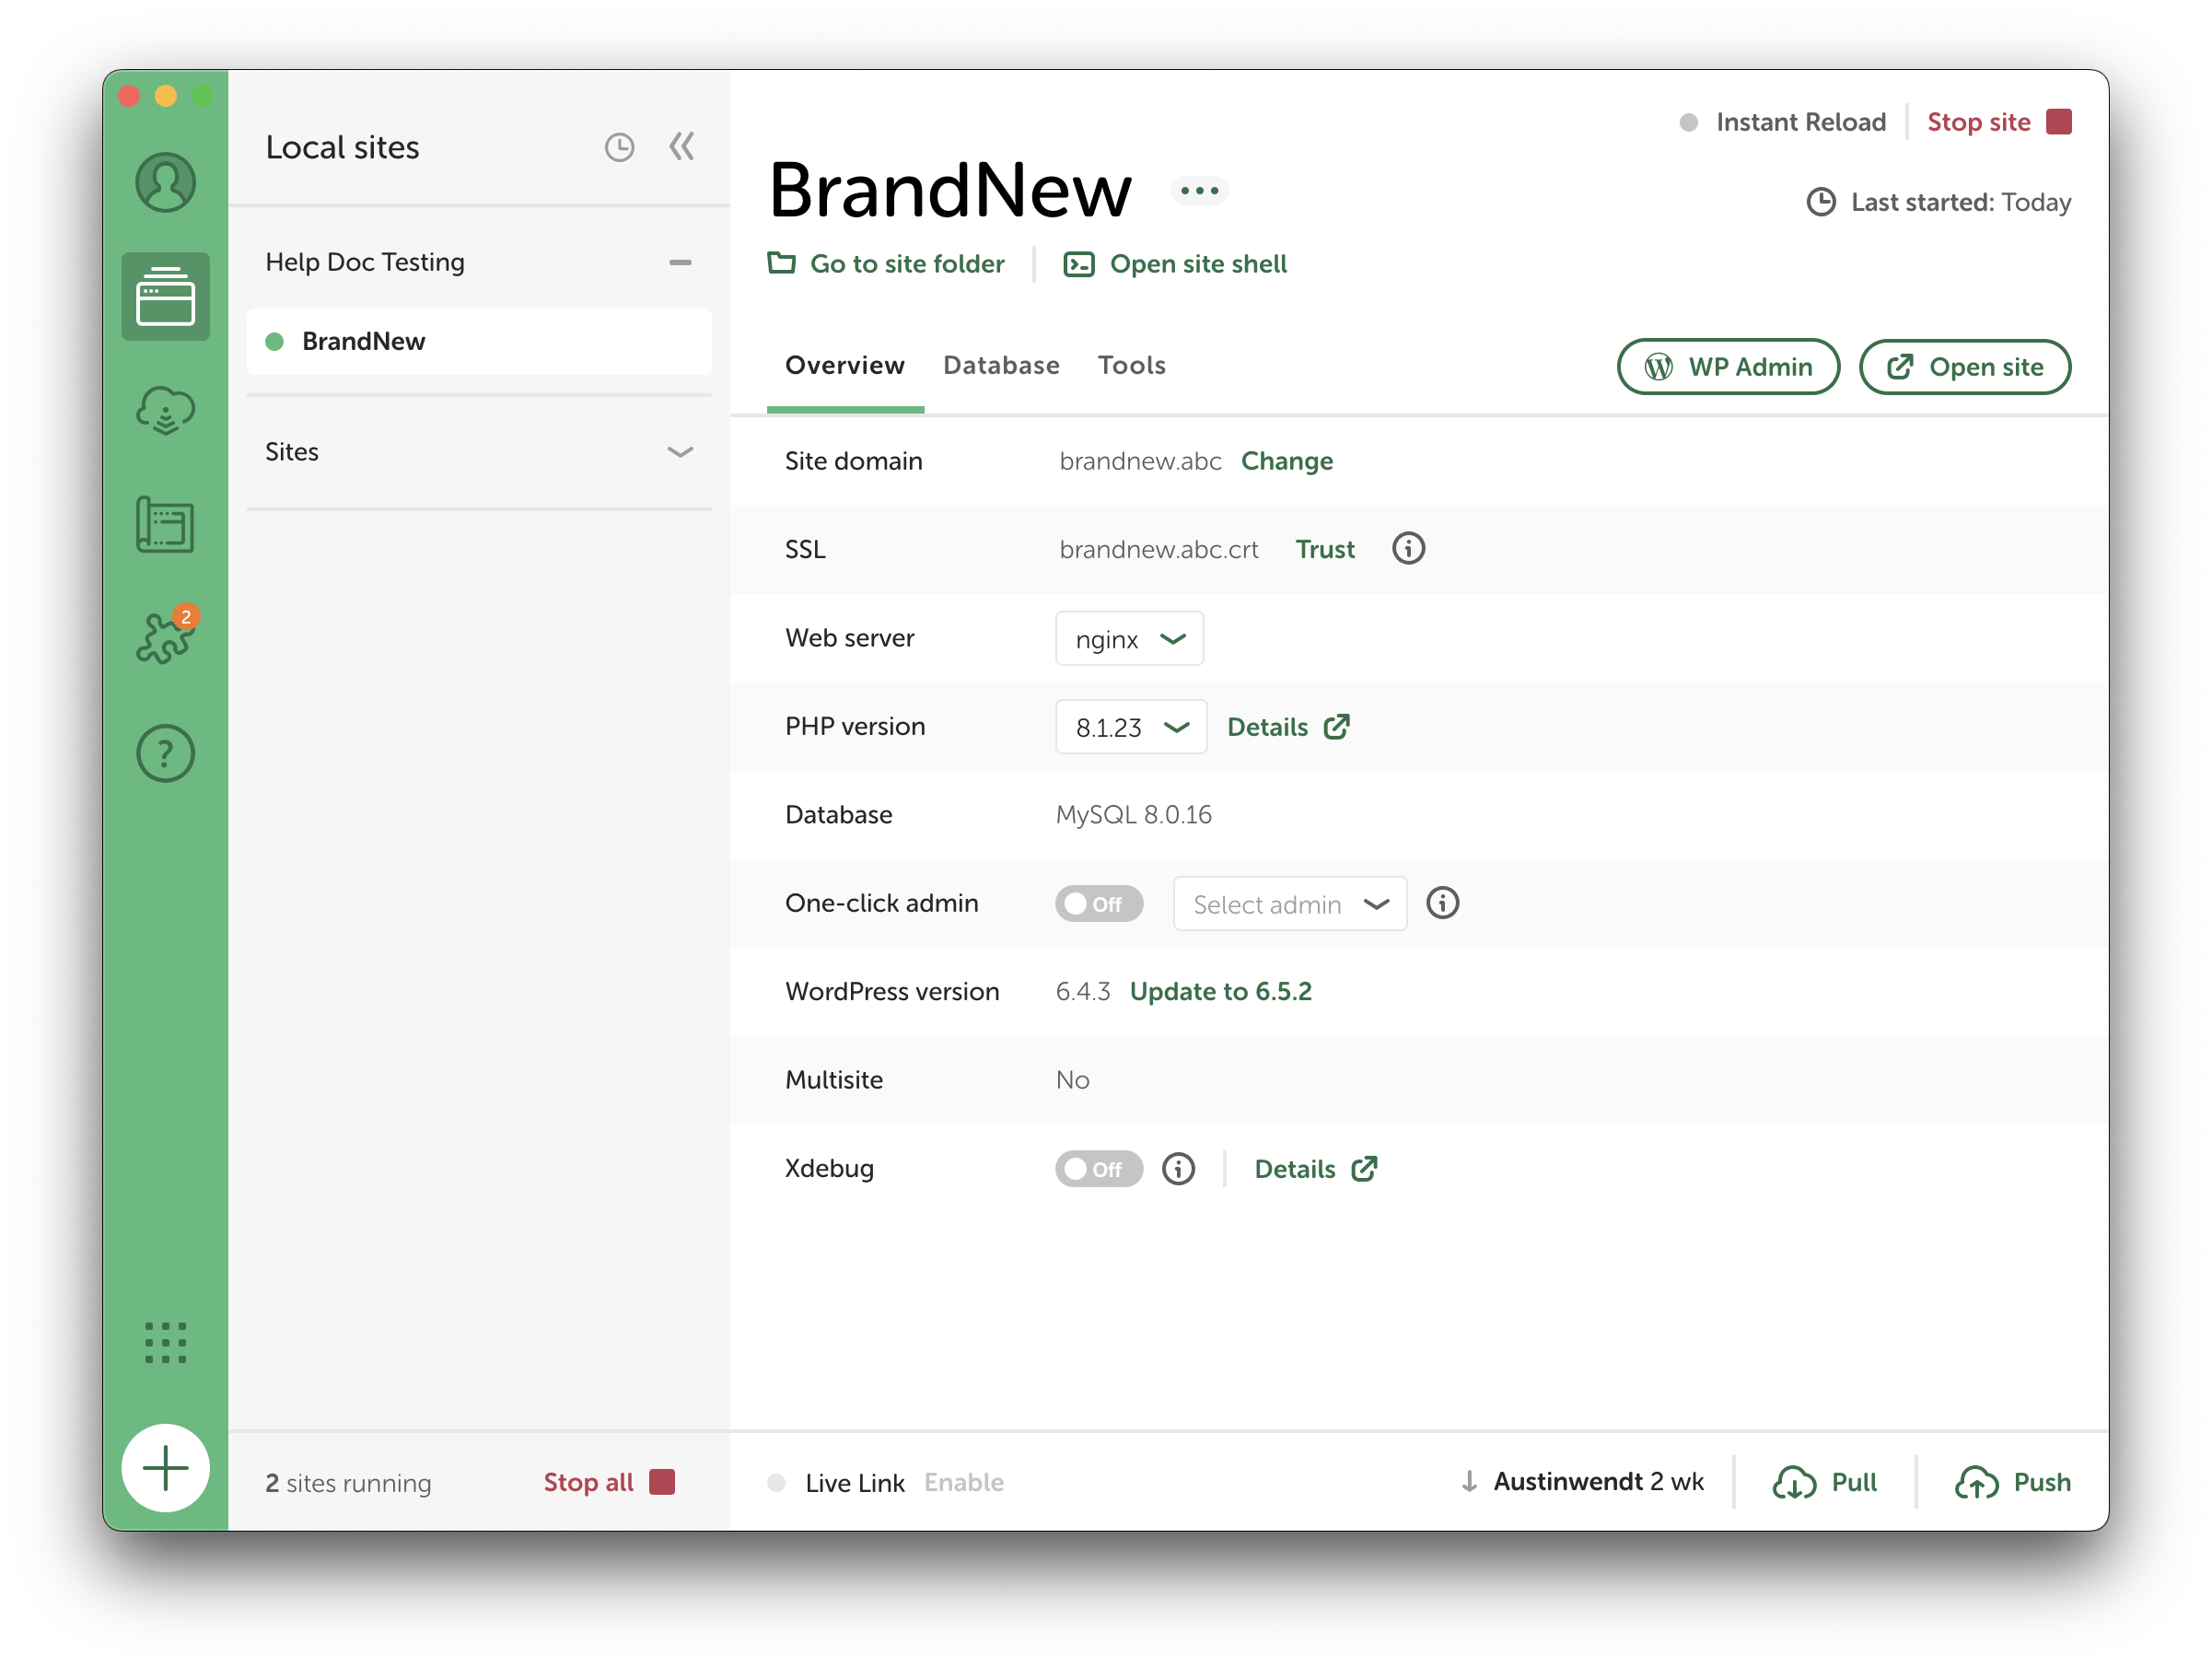
Once you’ve linked Local to a hosting provider you can pull a site down by either navigating to the “Connect” tab in Local or simply pressing the “Push” or “Pull” button in the bottom right-hand corner of a site’s Overview page.
You can click the “Pull” button to download changes from the remote site or select the “Push” button to deploy your Local site to staging or production.
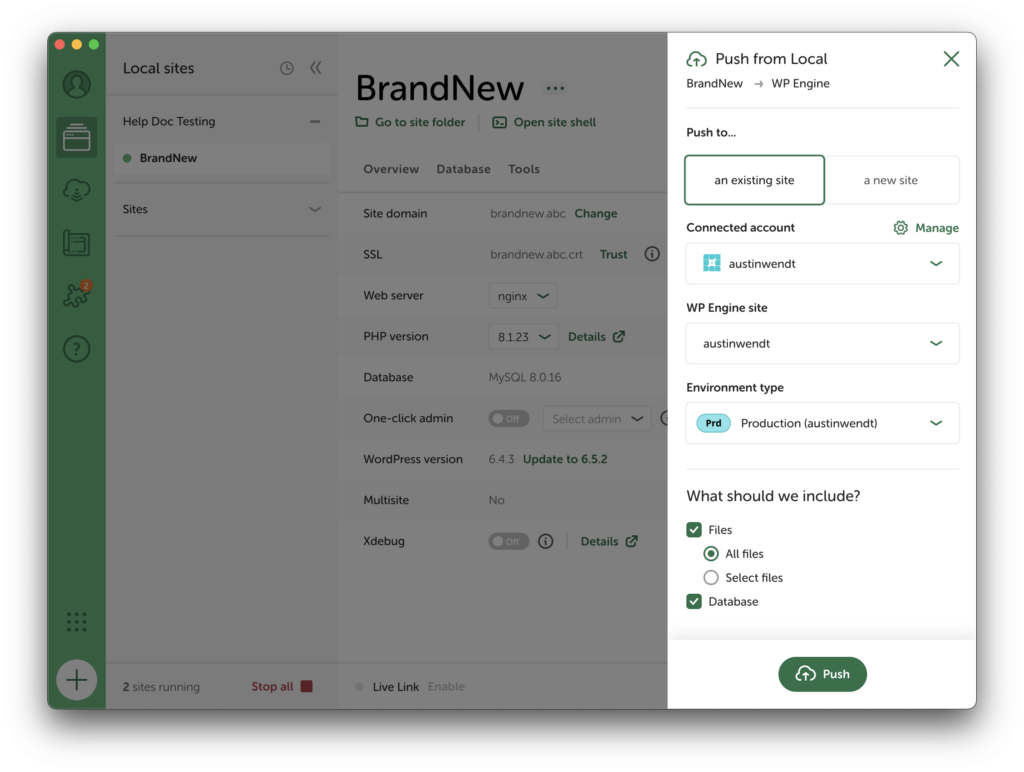
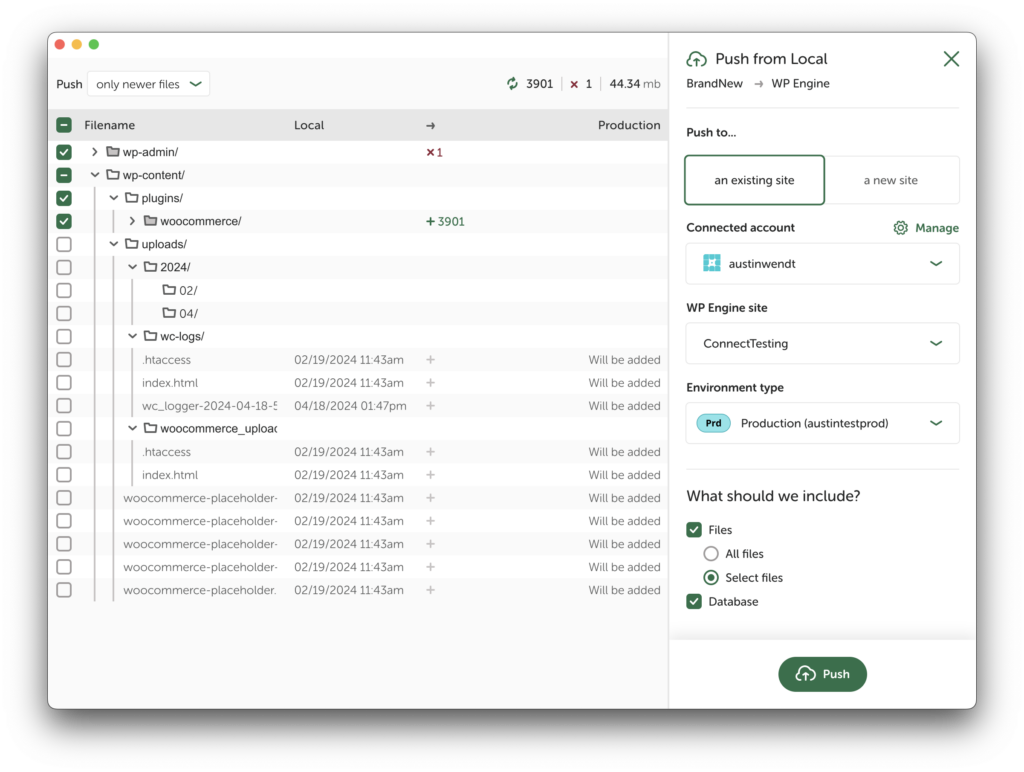
Deploy a site by selecting the “Push” button in the lower-right corner of the site overview page. A new panel slide out from the right side of the screen allowing you to choose the changes you wish to include.
Remote environments
Depending on the hosting provider, you have options for the kind of environment you can push-to or pull-from:
- Production
- Staging
- Development (WPE only)
By default, the production environment is used, but if you’d like to deploy to a staging environment that doesn’t exist, Local will direct you to create that environment.
When pulling or pushing a site, select the remote environment type you’d like to work with.
If a staging environment doesn’t exist remotely, Local will prompt you to create one.
MagicSync
The MagicSync viewer allows you to quickly see which files have changed between the Local and remote site and select which of those files should be deployed. More details about using the MagicSync viewer can be found in this help doc.
This view is displayed by selecting the “Select files” option when deciding what should be included in a push or pull. Selecting “All Files” will close the MagicSync viewer.
Prior to Local v9.0, MagicSync was only displayed if users enabled the feature within Preferences. For all versions of Local v9.0 or greater, MagicSync is available by default by choosing “Select files” – no preferences needed!
Path Exclusions for Local Connect
When pushing or pulling a site, Local excludes certain files for security, performance, or reliability reasons.
Local excludes these paths relative to your site’s root:
- .connect-manifest.json
- .connect-pull.sql
- .connect-push.sql
- .fw-config.php
- .well-known
- flywheel-config
- index.php
- license.txt
- local-phpinfo.php
- readme.html
- wp-activate.php
- wp-admin
- wp-blog-header.php
- wp-comments-post.php
- wp-config-sample.php
- wp-config.php
- wp-cron.php
- wp-includes
- wp-links-opml.php
- wp-load.php
- wp-login.php
- wp-mail.php
- wp-settings.php
- wp-signup.php
- wp-trackback.php
- xmlrpc.php
- wp-content/upgrade
- wp-content/index.php
- wp-content/plugins/index.php
- wp-content/themes/index.php
Local excludes every occurrence of these paths within your site:
- .DS_Store
- .git
- .idea
- .env
- .svn
- node_modules
Special exclusions based on regex patterns:
- local-adminer-*.php