Blueprints
Blueprints offer a quick easy way to start a site by utilizing pre-saved site settings such as themes and plugins. If you’ve created the perfect site and want to recreate it, this is the best way to apply those settings when building new sites.
Table of Contents:
Blueprints Basics
A Blueprint is a WordPress site package that can include themes, plugins, configured pages, site settings, and more. With everything pre-installed, Blueprints let you skip several steps when you set up a site!
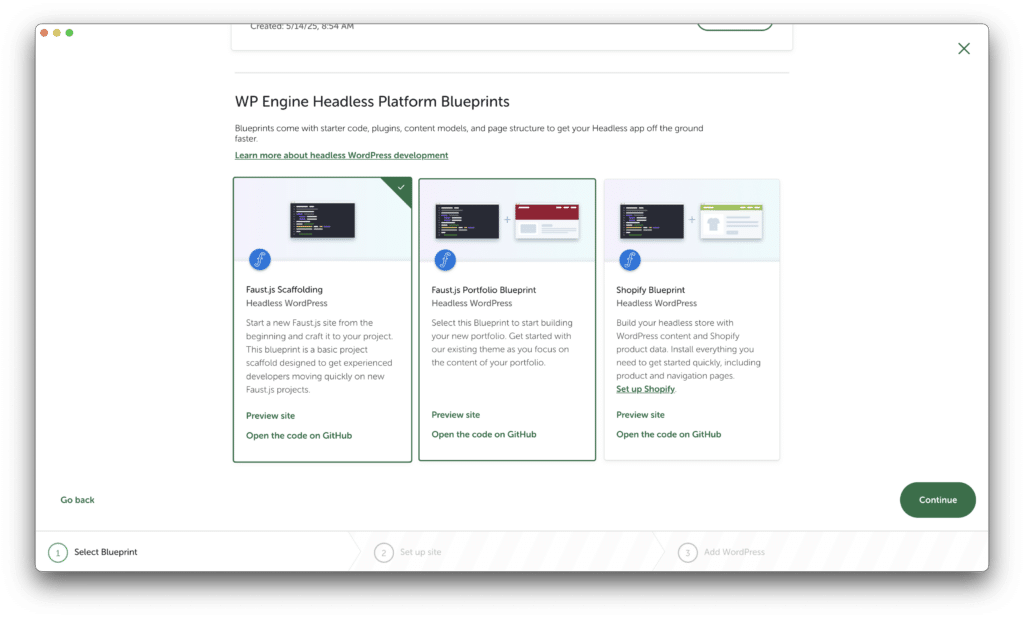
WP Engine Headless Platform Blueprint
A WP Engine Headless Platform Blueprint is a pre-built headless WordPress site designed to work seamlessly with WP Engine’s Headless Platform. A Headless Platform Blueprint is now available in Local when the Headless Platform Add-on is installed. It’s a great way to learn and test headless WordPress sites!
Using a Headless Platform Blueprint gets you up and running quickly with a headless WordPress site. From there, you can customize it however you’d like.
New to headless? Learn more about headless WordPress here.
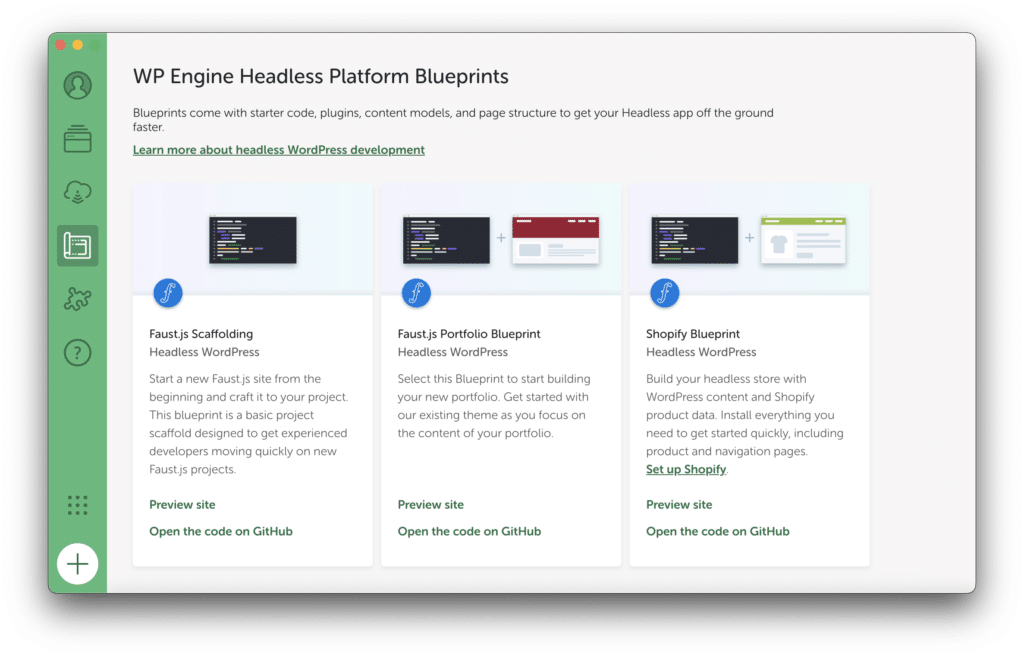
There is a pre-made Headless Platform Blueprint, the Faust.js Scaffolding Blueprint, that comes with the elements of an Headless Platform site, such as a Faust.js frontend, Advanced Custom Fields, and more.
Download the WP Engine Headless Platform Add-on to test and preview the headless Blueprints in Local.
Blueprints Benefits
Blueprints save time by eliminating the need to navigate plugin and theme directories or run command-line commands to set up a site. Blueprints provide a great solution for developers who have a set of go-to tools used to build a site (e.g. a certain theme, your favorite plugins, or specific database settings).
It’s also great for developers who build many similar sites frequently, for example, agencies and freelancers.
Users who build WordPress plugins and themes or build on the WordPress core use Blueprints to spin up sites quickly for testing their latest builds.
Think of it as a head-start to your development workflow. No more starting from scratch or clearing out everything you don’t need from a cloned site. Ready to get your sites up and running faster? Create a Blueprint to get started.
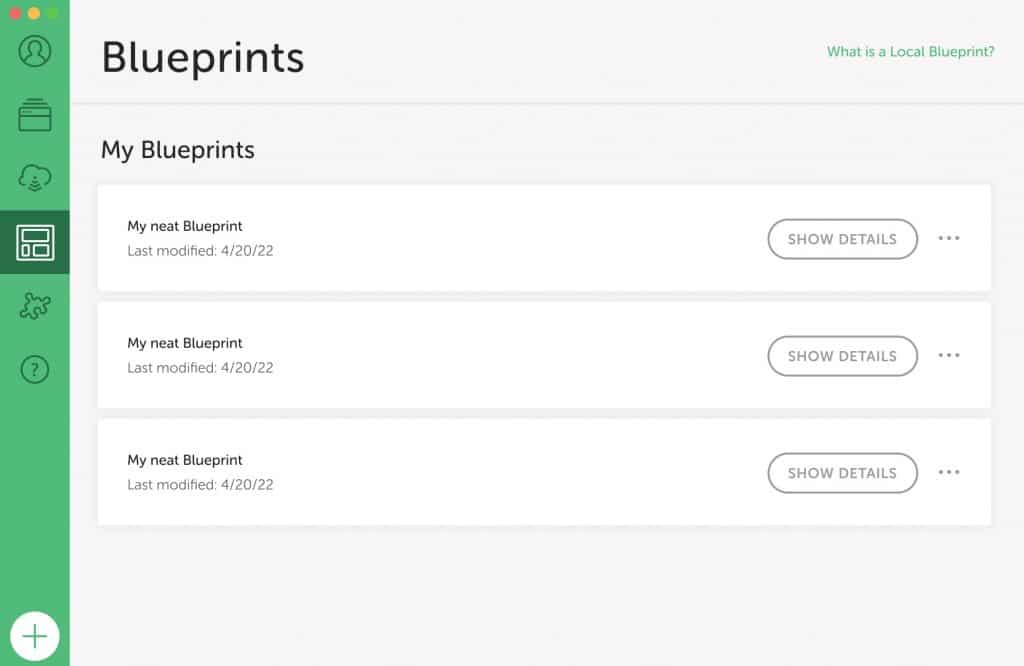
Overview of the Blueprints tab
Blueprints are a main navigation item in Local. Just press on this tab to see all the Blueprints you’ve created. Once you’ve saved an existing site as a Blueprint, it will appear under the “My Blueprints” section.
If you have the WP Engine Headless Platform Add-on enabled, you’ll also see pre-made headless Blueprints from our team in this tab for you to try. Learn more here.
Create a Blueprint
Turning a site into a Blueprint is easy, just follow these steps!
- Create a site in Local that includes everything you want in your Blueprint (e.g. themes, plugins, pages, etc.).
- Start the site you want to create a Blueprint from.
To start a site, click “Start site” in the top right corner of your site’s page or right-click the site’s name on the sidebar and click “Start site”.
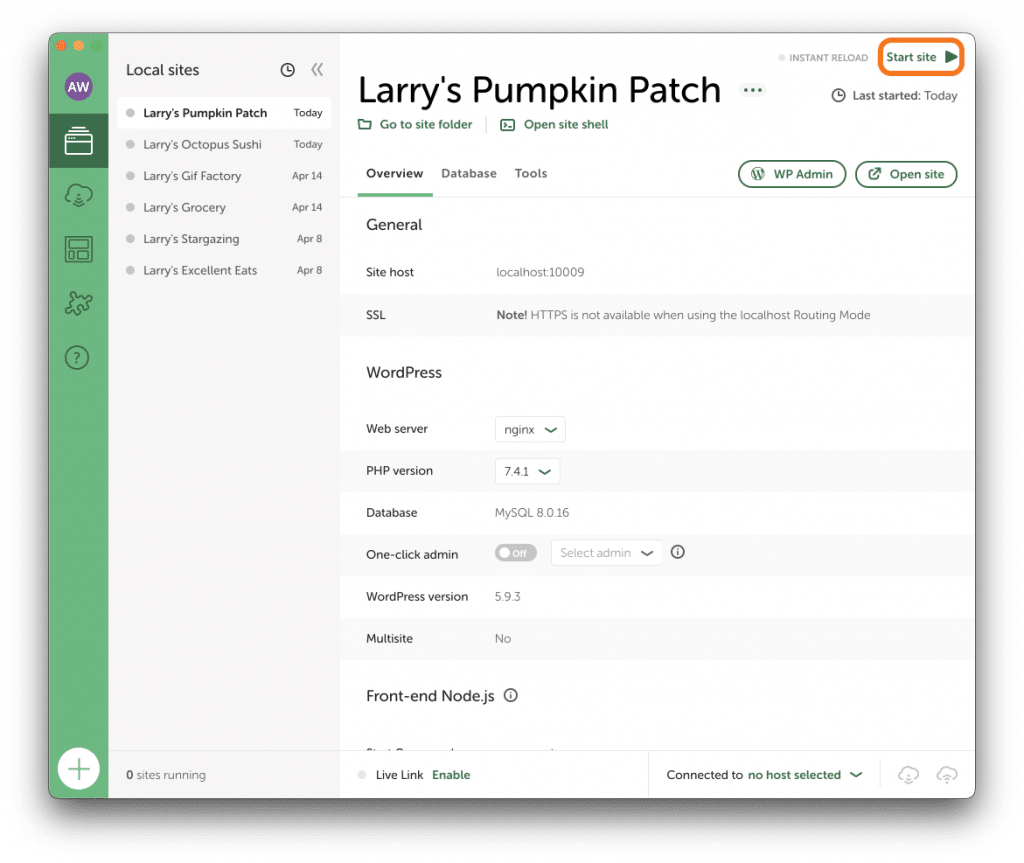
The “Save as Blueprint” option will be disabled if the site is not started.
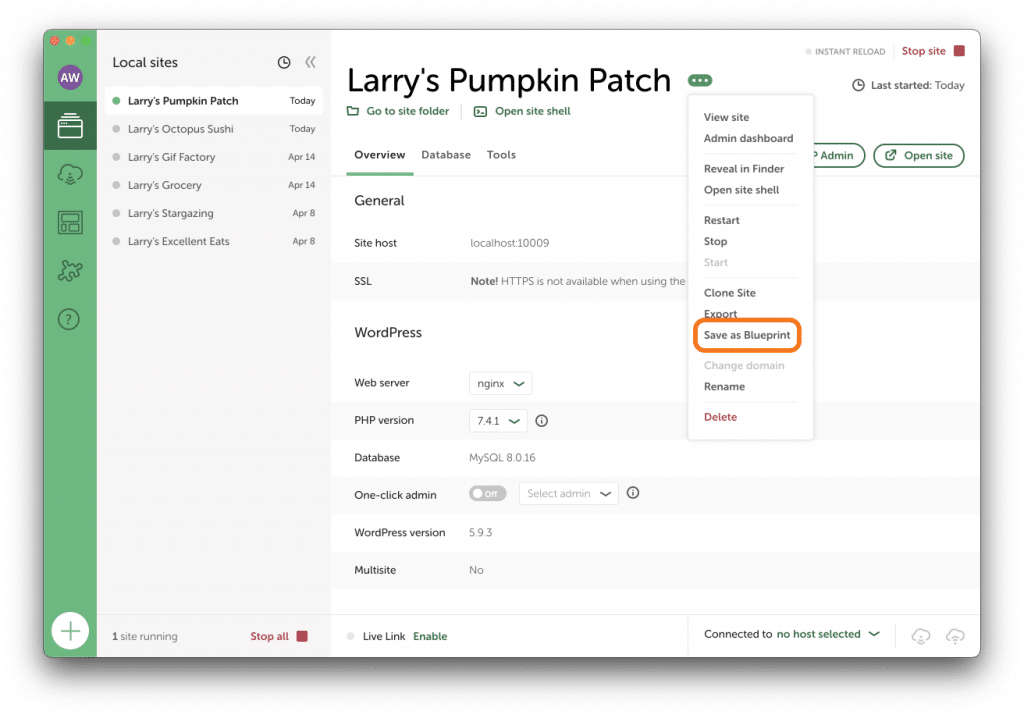
- After the site is started, press the context menu (…) icon near the site name, or right-click the site’s name on the sidebar.
- Select “Save as Blueprint.”
- Name your Blueprint and press “Save.”
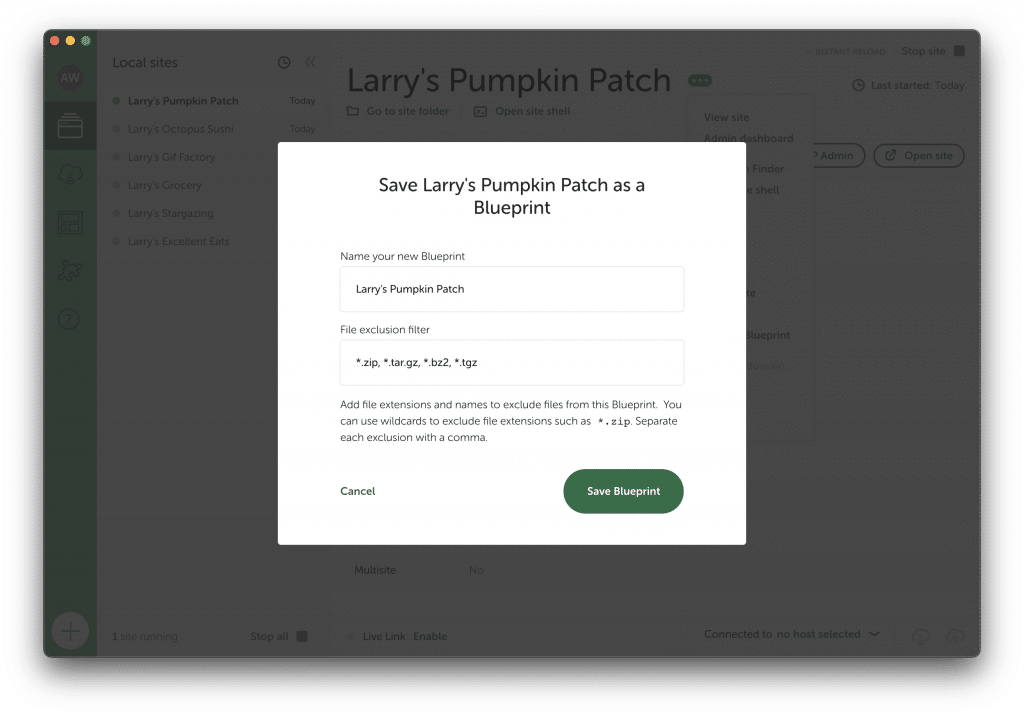
If you plan to create multiple Blueprints it helps to be descriptive of the site in the name (e.g. Ecommerce site, Blog, Brochure site, etc.)
That’s it — you created a new Blueprint!
You can not edit a Blueprint after it is saved. To edit your Blueprint (like updating a theme), we recommend creating a site from the Blueprint you want to update, make any edits you want, and save the updates as a new Blueprint.
Create a site using a Blueprint
Here’s how to start a new site in Local from a Blueprint:
- Create a Blueprint from an existing site in Local with the steps from the “Create a Blueprint” section of this help doc.
- Click the plus in the bottom left to create a new site in Local.
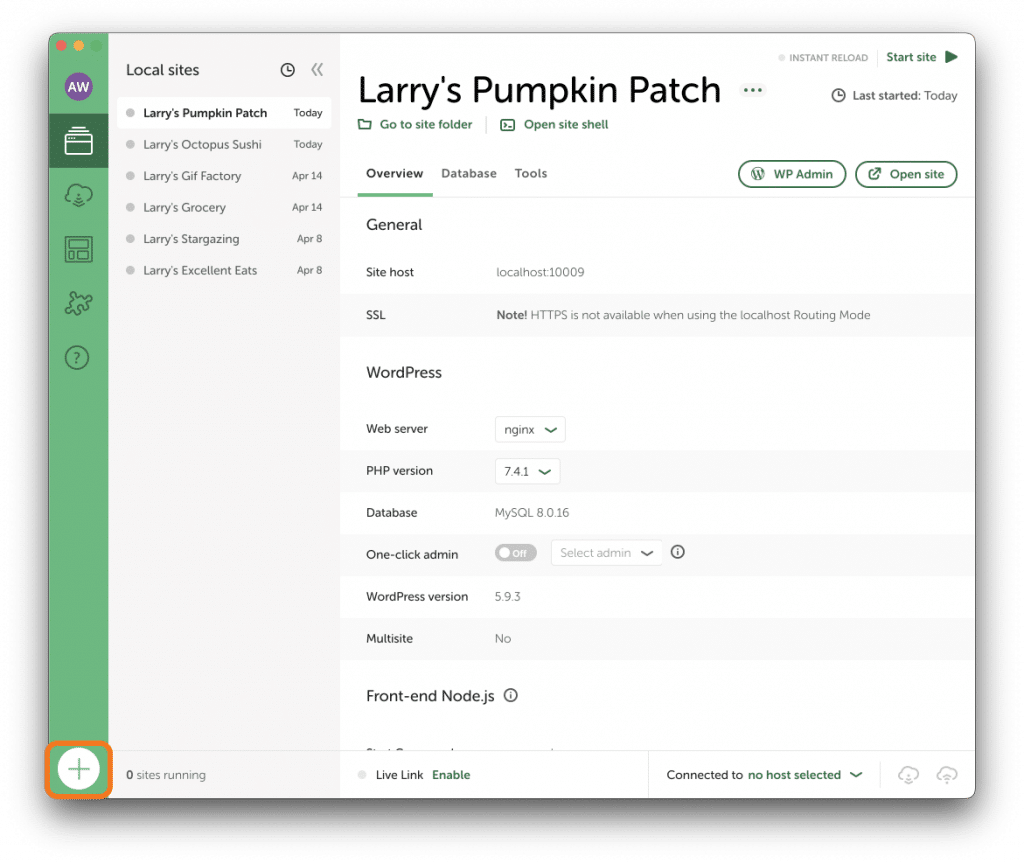
- Select the “Create from a Blueprint” option.

- Select the Blueprint you want to use.
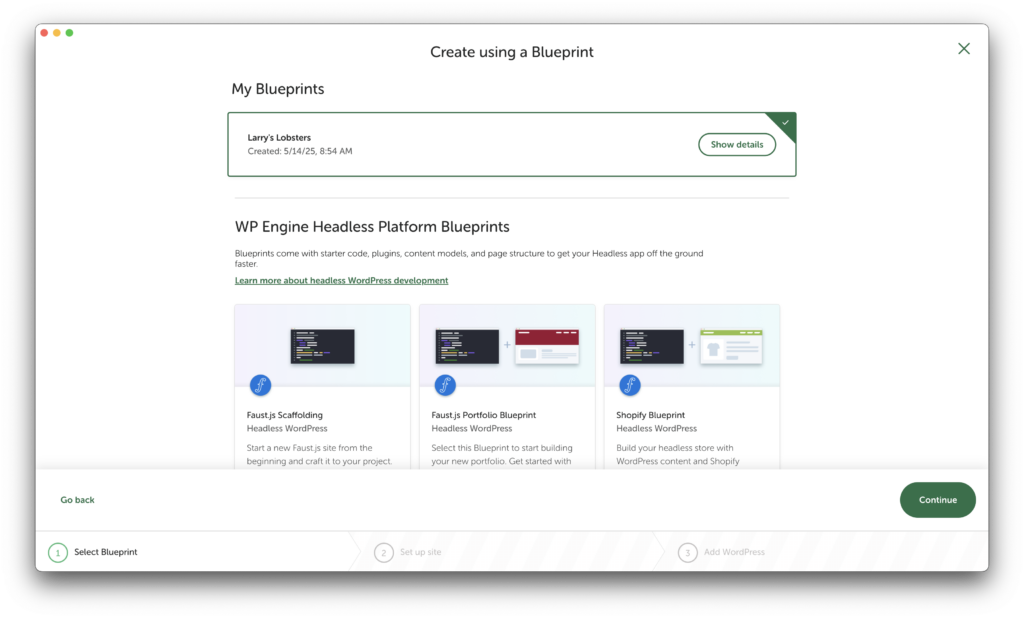
If the WP Engine Headless Platform Add-On is enabled and you would like to start a site from a headless Blueprint, you can select that here.
- Finish going through the “Create a site” flow by naming your site and pressing “Create site”.
That’s it — your new site is ready to continue building!
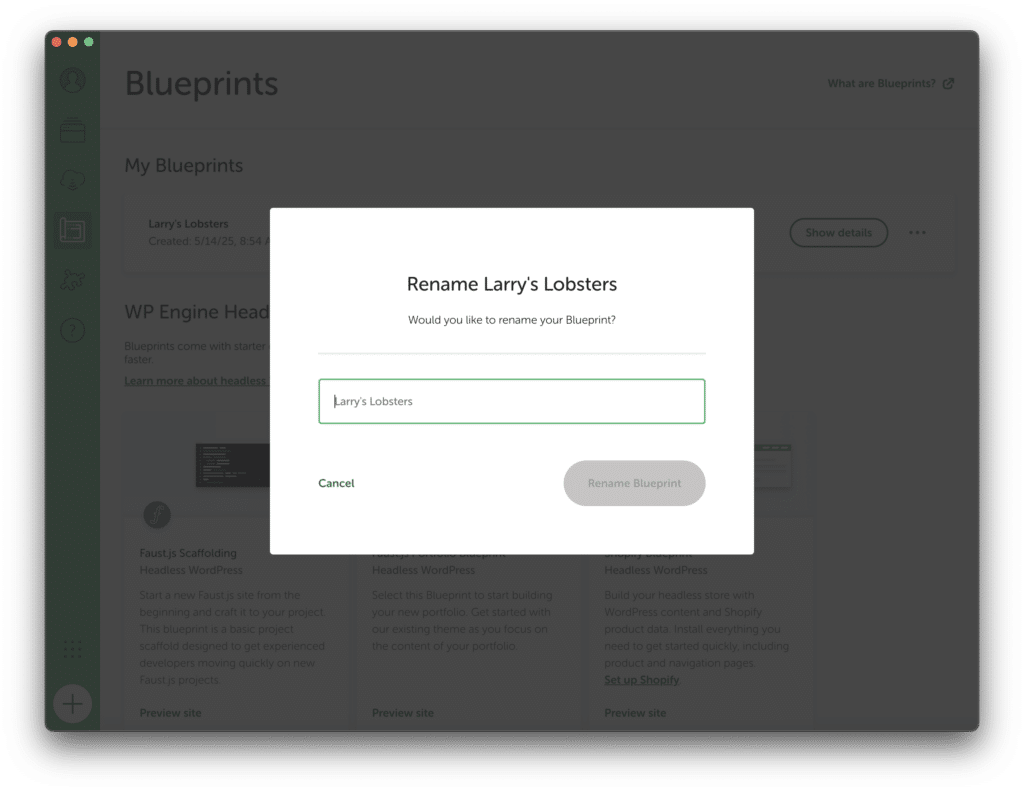
Rename a Blueprint
To rename a Blueprint, navigate to the Blueprints tab and select the Blueprint you want to rename. Click the “Rename” button, edit the text, and click “Save.”
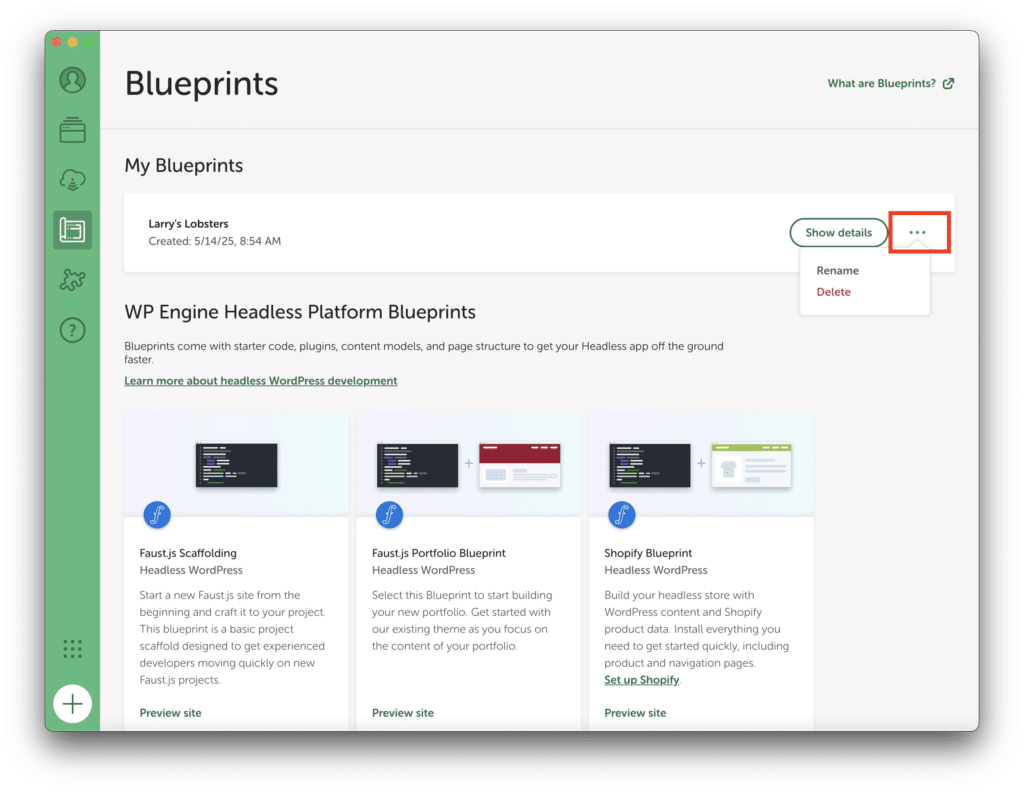
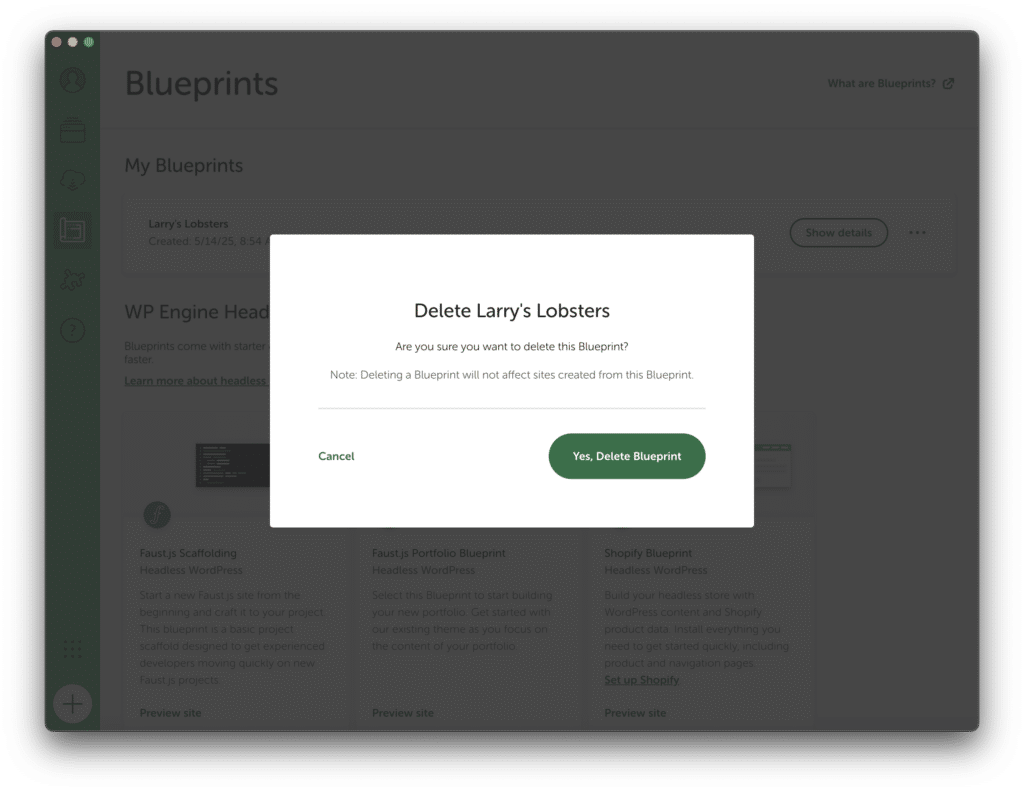
Delete a Blueprint
To delete a Blueprint, navigate to the Blueprints tab and press the delete button next to the Blueprint. A confirmation banner will appear where you can press “Yes, delete [Blueprint name]” or “Cancel.”
The Headless Platform Blueprint section will only contain pre-made headless Blueprints from our teams here at WP Engine (the company that owns Local). You can, however, create a site from a headless Blueprint, modify it as you’d like, and save that as a new Blueprint. That Blueprint will be saved to your “My Blueprints” section.
Access Blueprints on your local machine
Blueprints are stored with the rest of Local’s application data on your machine. This location varies by the operating system.
- For Mac users, this is typically located at the root directory under
~/Library/Application Support/Local/blueprints. - For Windows users, blueprints will be located at
%APPDATA%/Local/blueprints.